Parz.wiki

How Parz.wiki is created and hosted completely for free and how you can make your own blog the same way

Mobirise Website Builder

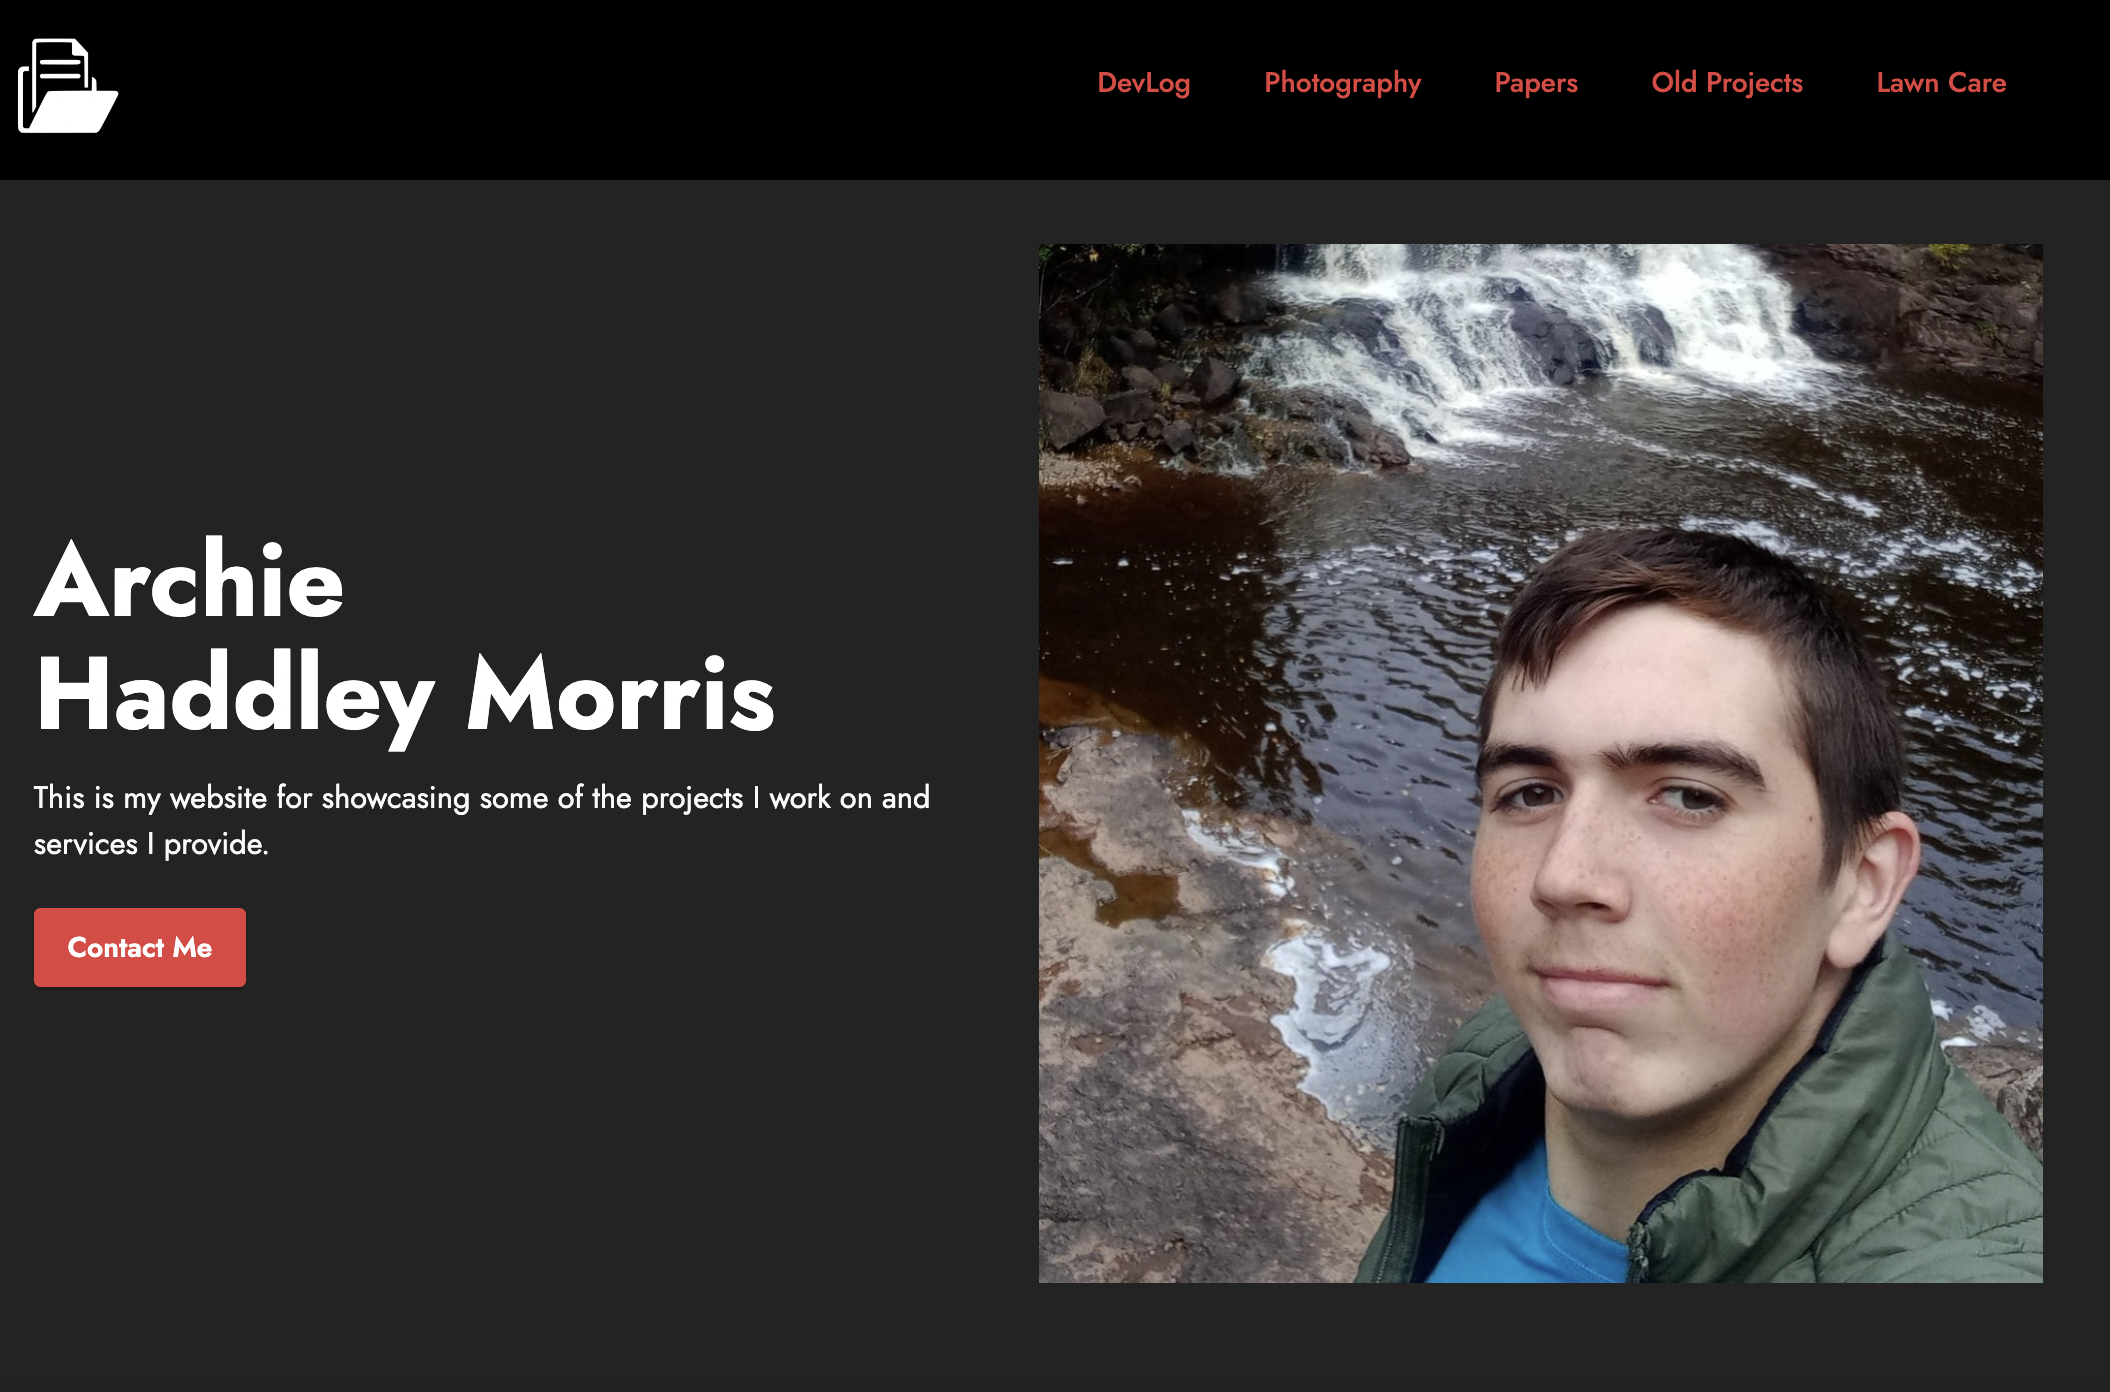
screenshot of the current homepage

Intro

For this workflow you will need the following:

1. a valid email address
2. a computer running either Mac OS or Windows
(no linux support sadly unless your running a VM)
3. basic internet connection

the applications/services you will use are:
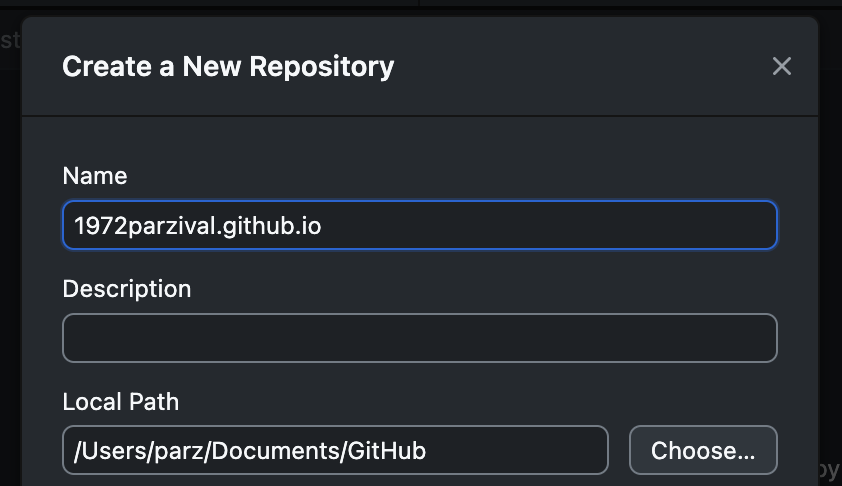
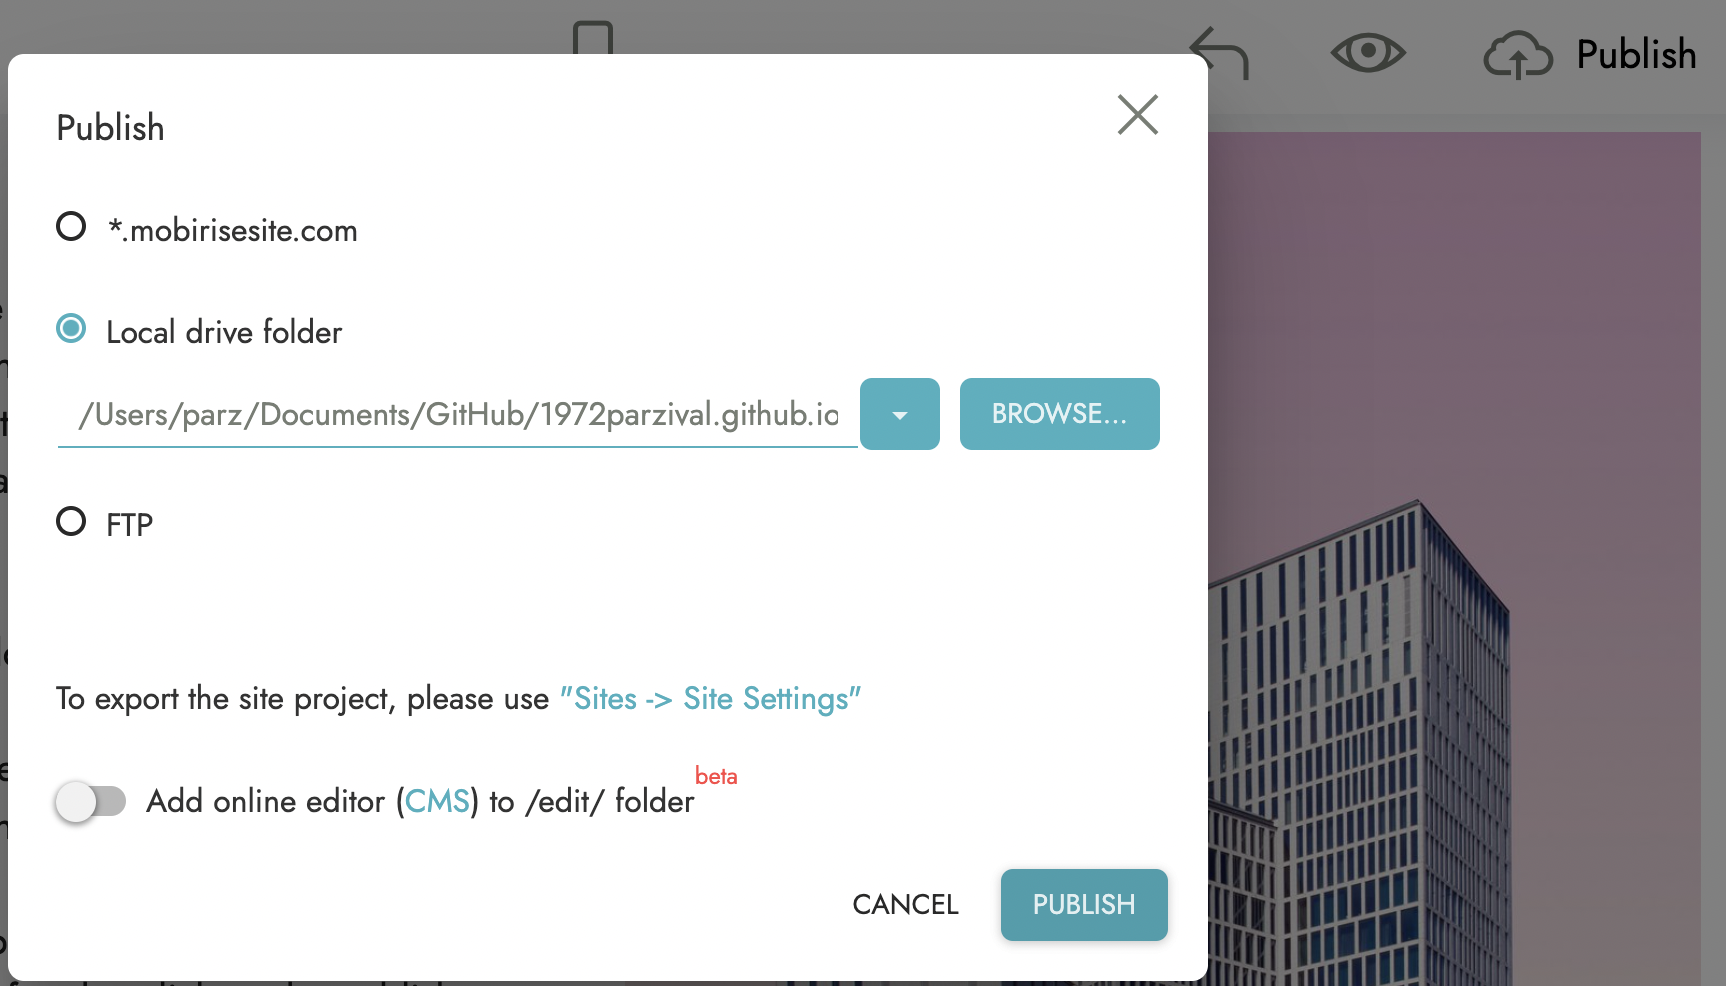
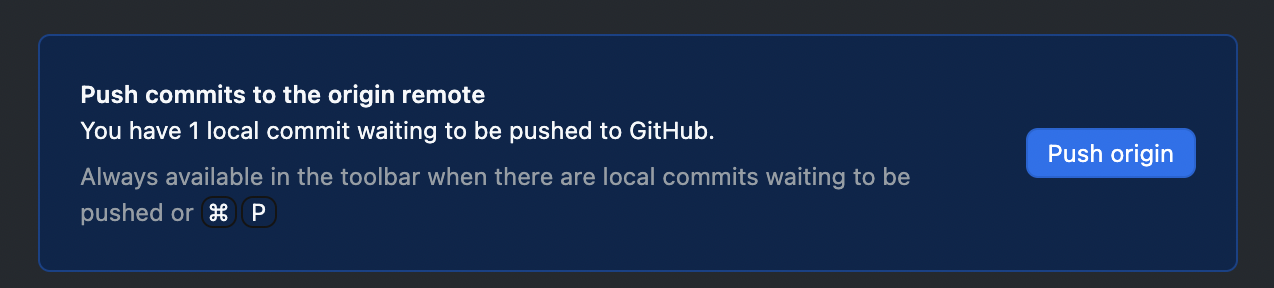
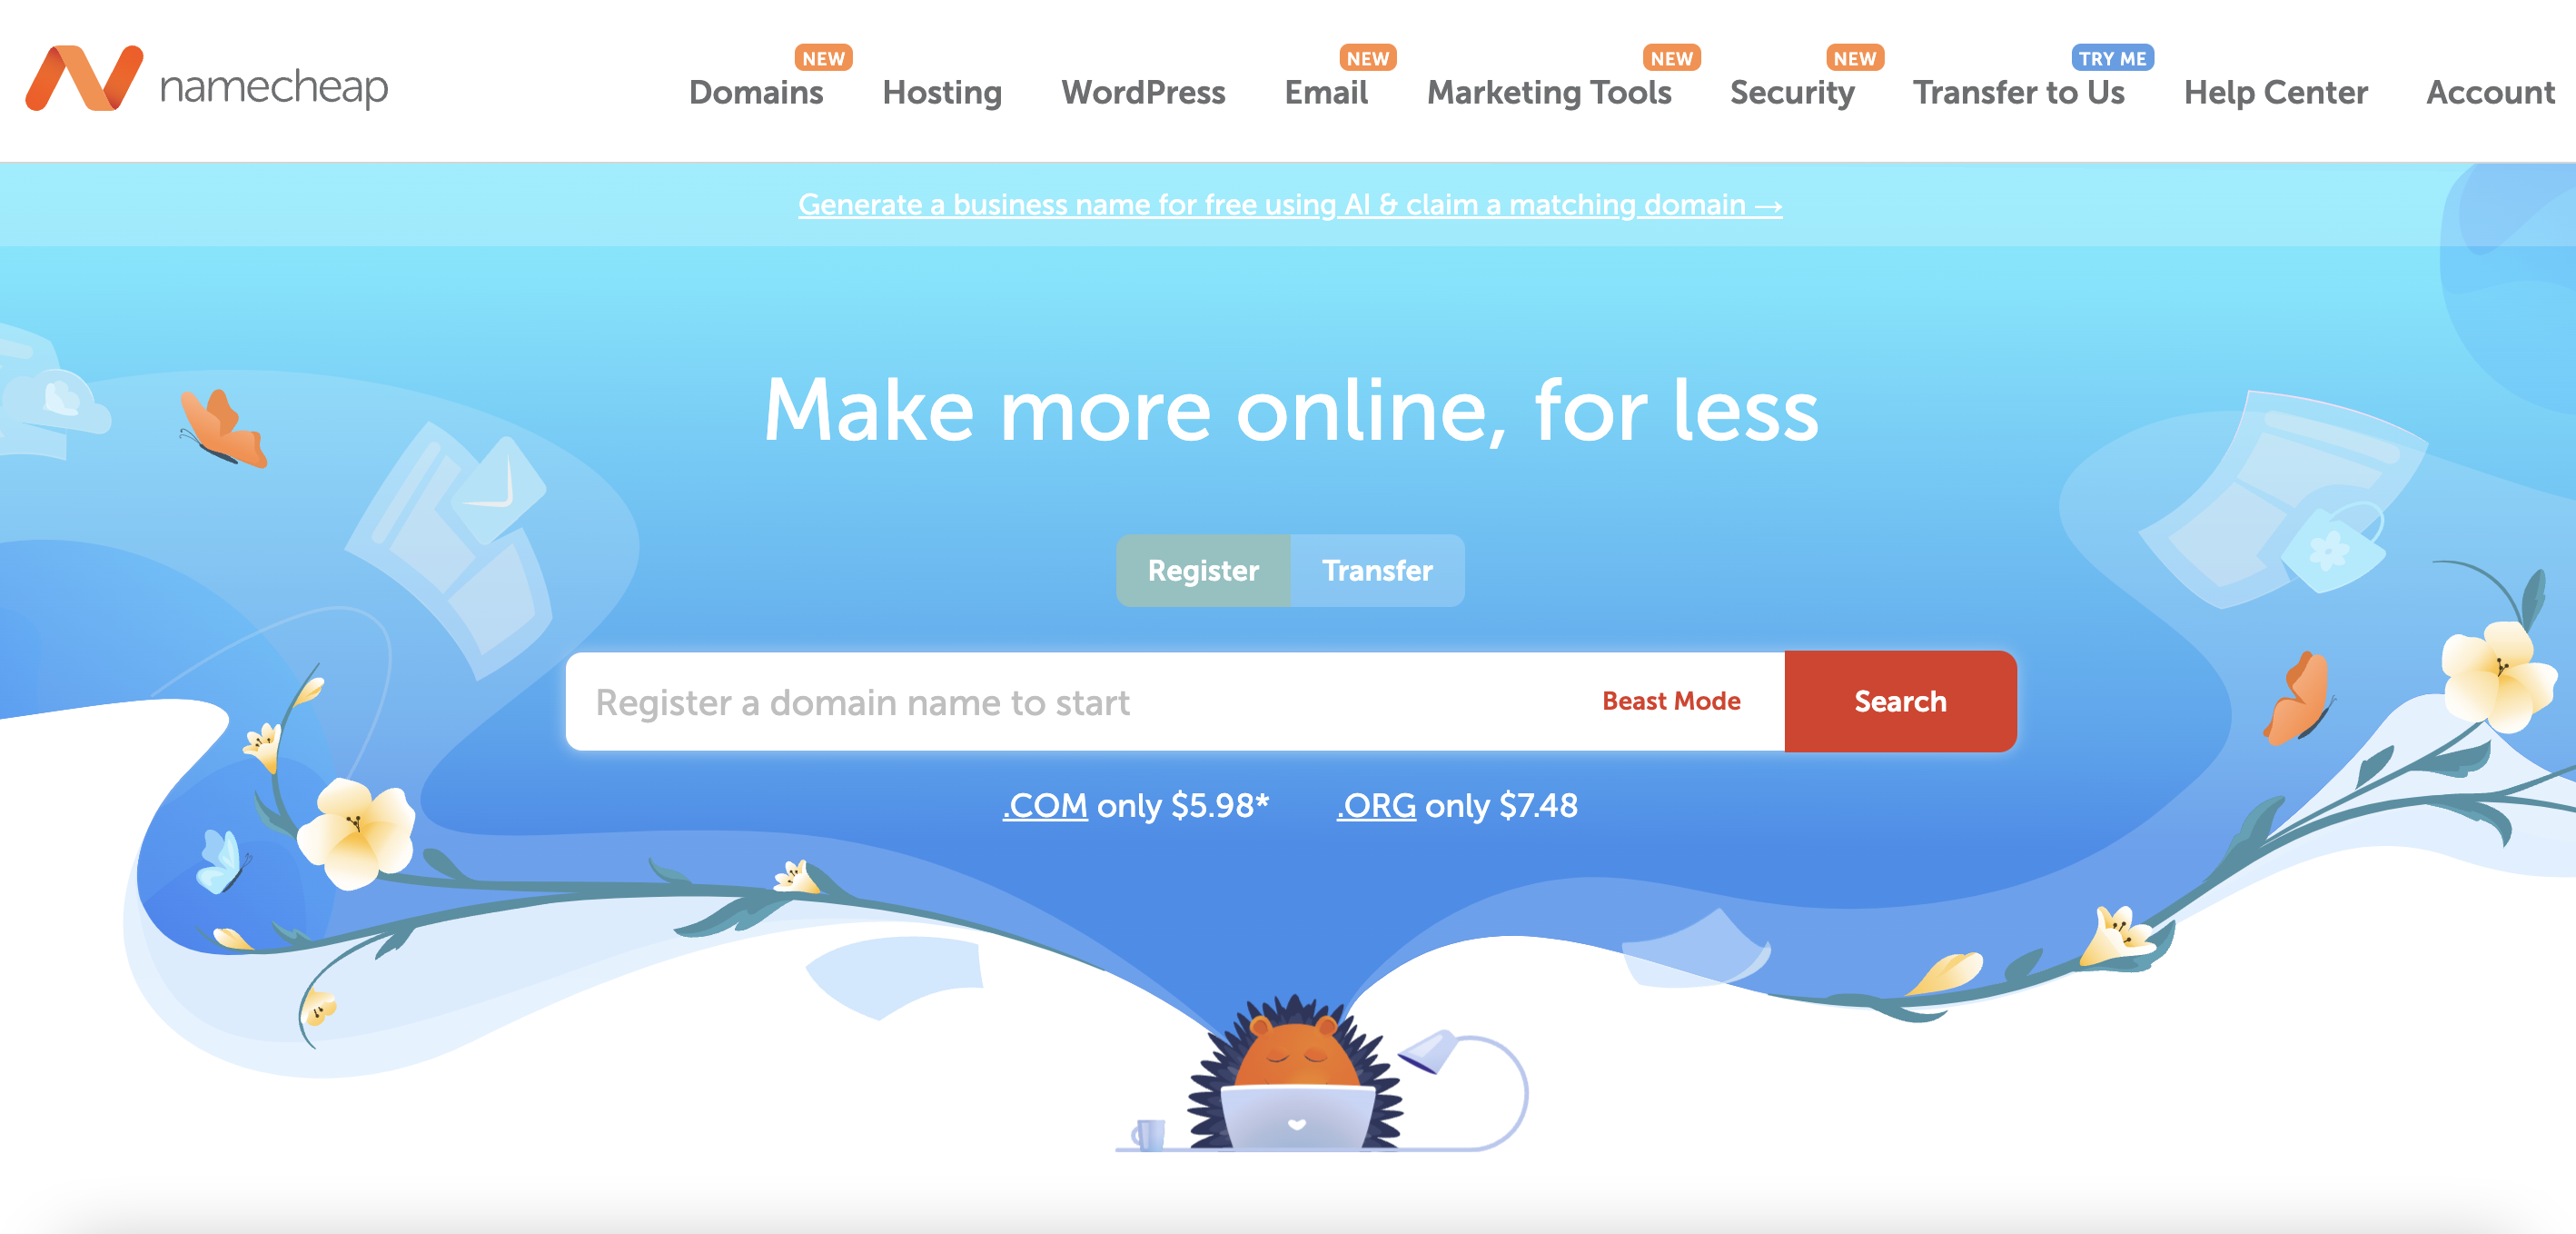
Github, Mobirise, and NameCheap (optional)

Mobirise Website Builder

"Sign in" or "Sign up"
for Github

just enter your email and password to sign in, or create new account and enter this information 

if your are creating a new account: 
your username will be your default domain name so make sure it's professional and easy to type 

Mobirise Website Builder

Github Desktop

After downloading, click on

"Current Repository" -> "Add" -> "Create New Repository"

Name the Repository exactly like the example shown with {your username}.github.io 
for example as my Github username is 1972parzival the name of Repository should be 1972parzival.github.io

Also note down the Local Path as you will be needing it shortly

then hit the "Create Repository" button then click the newly appeared button that says "Publish" 

you can check this has worked by going to your Github account through a web browser and seeing if the repo is listed on your account

Mobirise Website Builder

photo of the publish process

Mobirise

After downloading Mobirise
Click on the hamburger menu then click 
"sites"->"create new site"-> then choose a free template
(I use the "company" template)

WARNING: do not choose a paid template as you then might be blocked from deployment without payment

then return to sites and make sure the site you just created is there, then go to pages and click on the "home" page that should be automatically created, do some basic customization to the home page such as adding your name a photo of your face after that click on the publish button near the top right of the app. Select "local drive folder" then locate your Github repo from the previous step. Then wait as Mobirise creates the page (this step can take a while).

Mobirise Website Builder

First push

Return to your Github desktop which should now appear  with many changed files displayed. All you need to do is click on "summary" and type in the push message, it doesn't matter what you put as the push message. After your type in the push message click "commit to main" and then "push origin"  

Mobirise Website Builder

Test it!

now go into your web browser and type in the repo name for example "1972parzival.github.io" and see if your Mobirise page appears!

if it does CONGRATS!

if it doesn't here are some things to review 
1. check the format of the repo name
2. make sure the repo is set to public 
3. ensure that the file path Mobirise is pushing to is correct

Mobirise Website Builder

What now?

congrats you now have your very own site! you can use it for whatever you want and it is hosted completely for free. keep exploring Mobirise and get better at using it's UI and link and image system. if you get stuck look into Mobirise guides and videos online for help. everytime you want to update your site just repeat the simple push process through Github Desktop that was discussed in the previous step.

if you want to keep going and get a custom domain instead of {username}.github.io continue to the next step

Mobirise Website Builder

Custom domain

This next step is completely opinion and unfortunately does require money, fortunately for most it is a relatively small amount (normally between $3-15 per year)

There are many providers of custom domains online but after a lot of research i settled on NameCheap for their search system, cheap pricing and easy setup

Mobirise Website Builder

example of mine

Domain Setup

After Creating a account, finding a domain you like and buying it enter the dashboard "account" -> "dashboard". click on the "manage" button next to the site you bought, then click on "Advanced DNS". click on "add new record" then select "CNAME Record" for the type, "@" for the host and "{yourusername}.github.io" for the value while setting the TTL as automatic and hit the green checkmark

after this wait for 24 hours, if the domain you bought doesn't display your site look into online guides, or reach out to NameCheap support staff 

YOUR DONE!

Congrats on creating your own website with a totally custom domain i hope this guide helped you and allows your to publish all your ideas and projects without spending money on high hosting fees or fancy website builders.

AI Website Builder