Materials
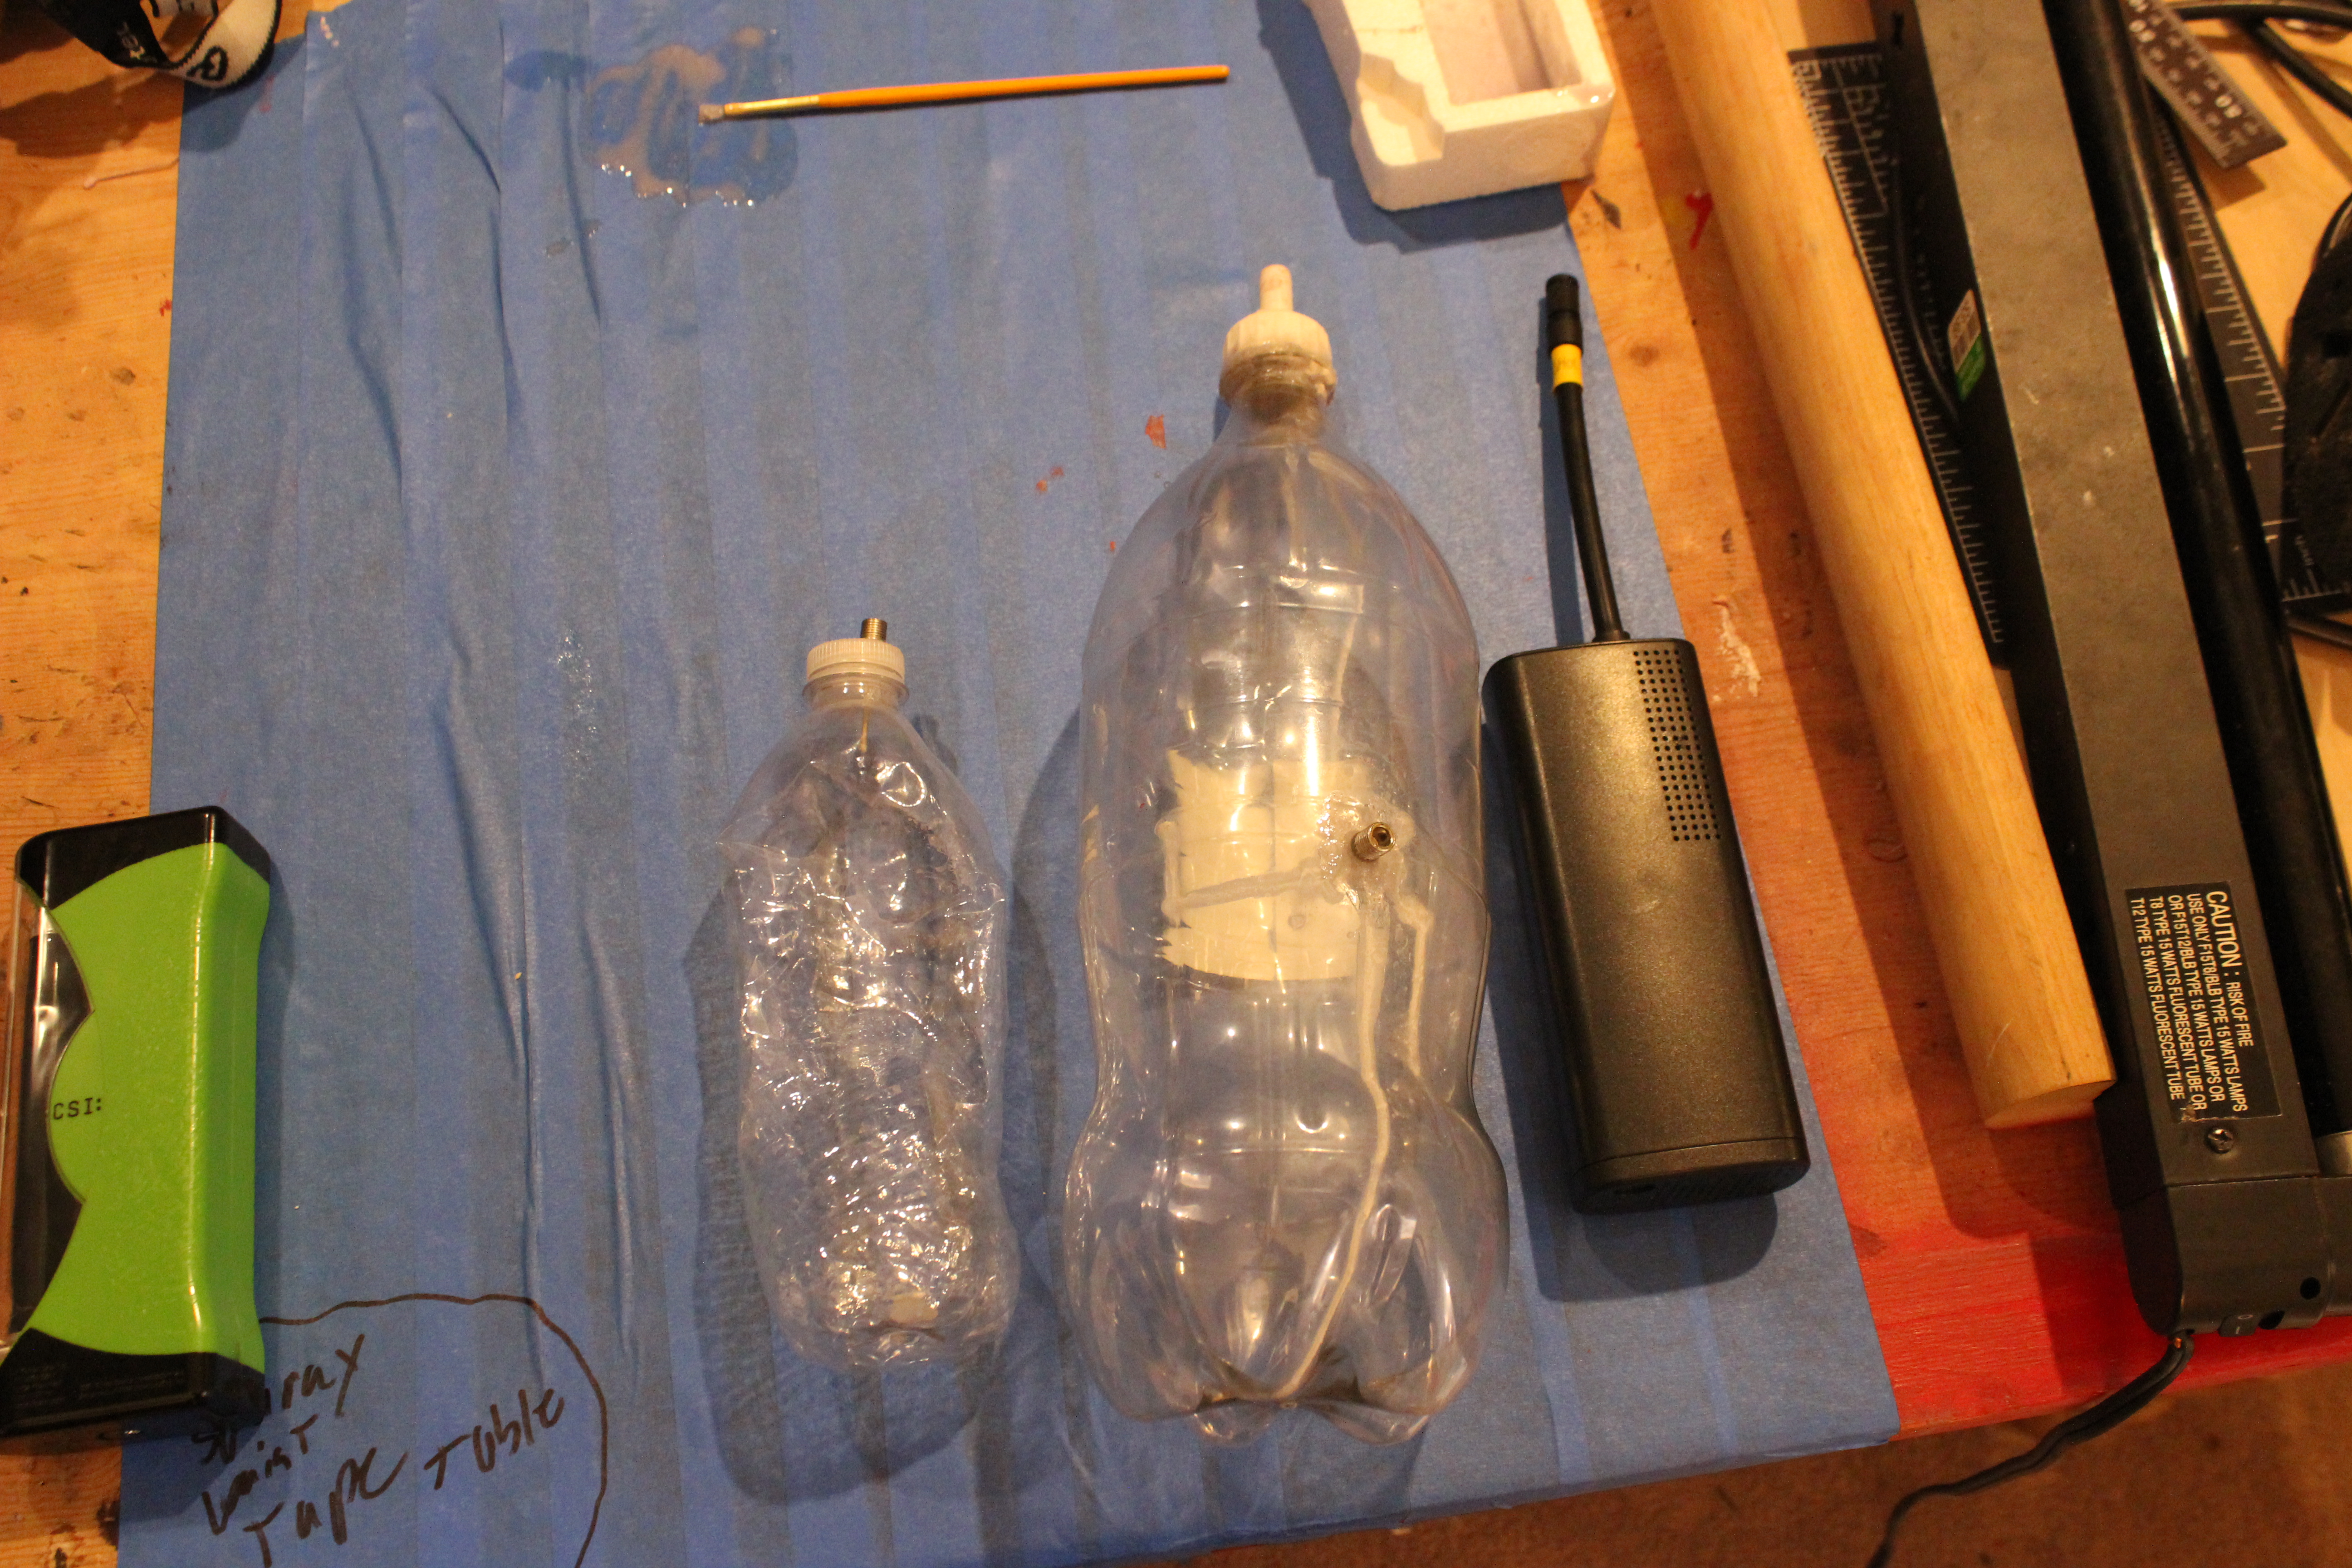
For this project I will converting two bottles into containers that can properly hold pressure (tested up to ~10 PSI).
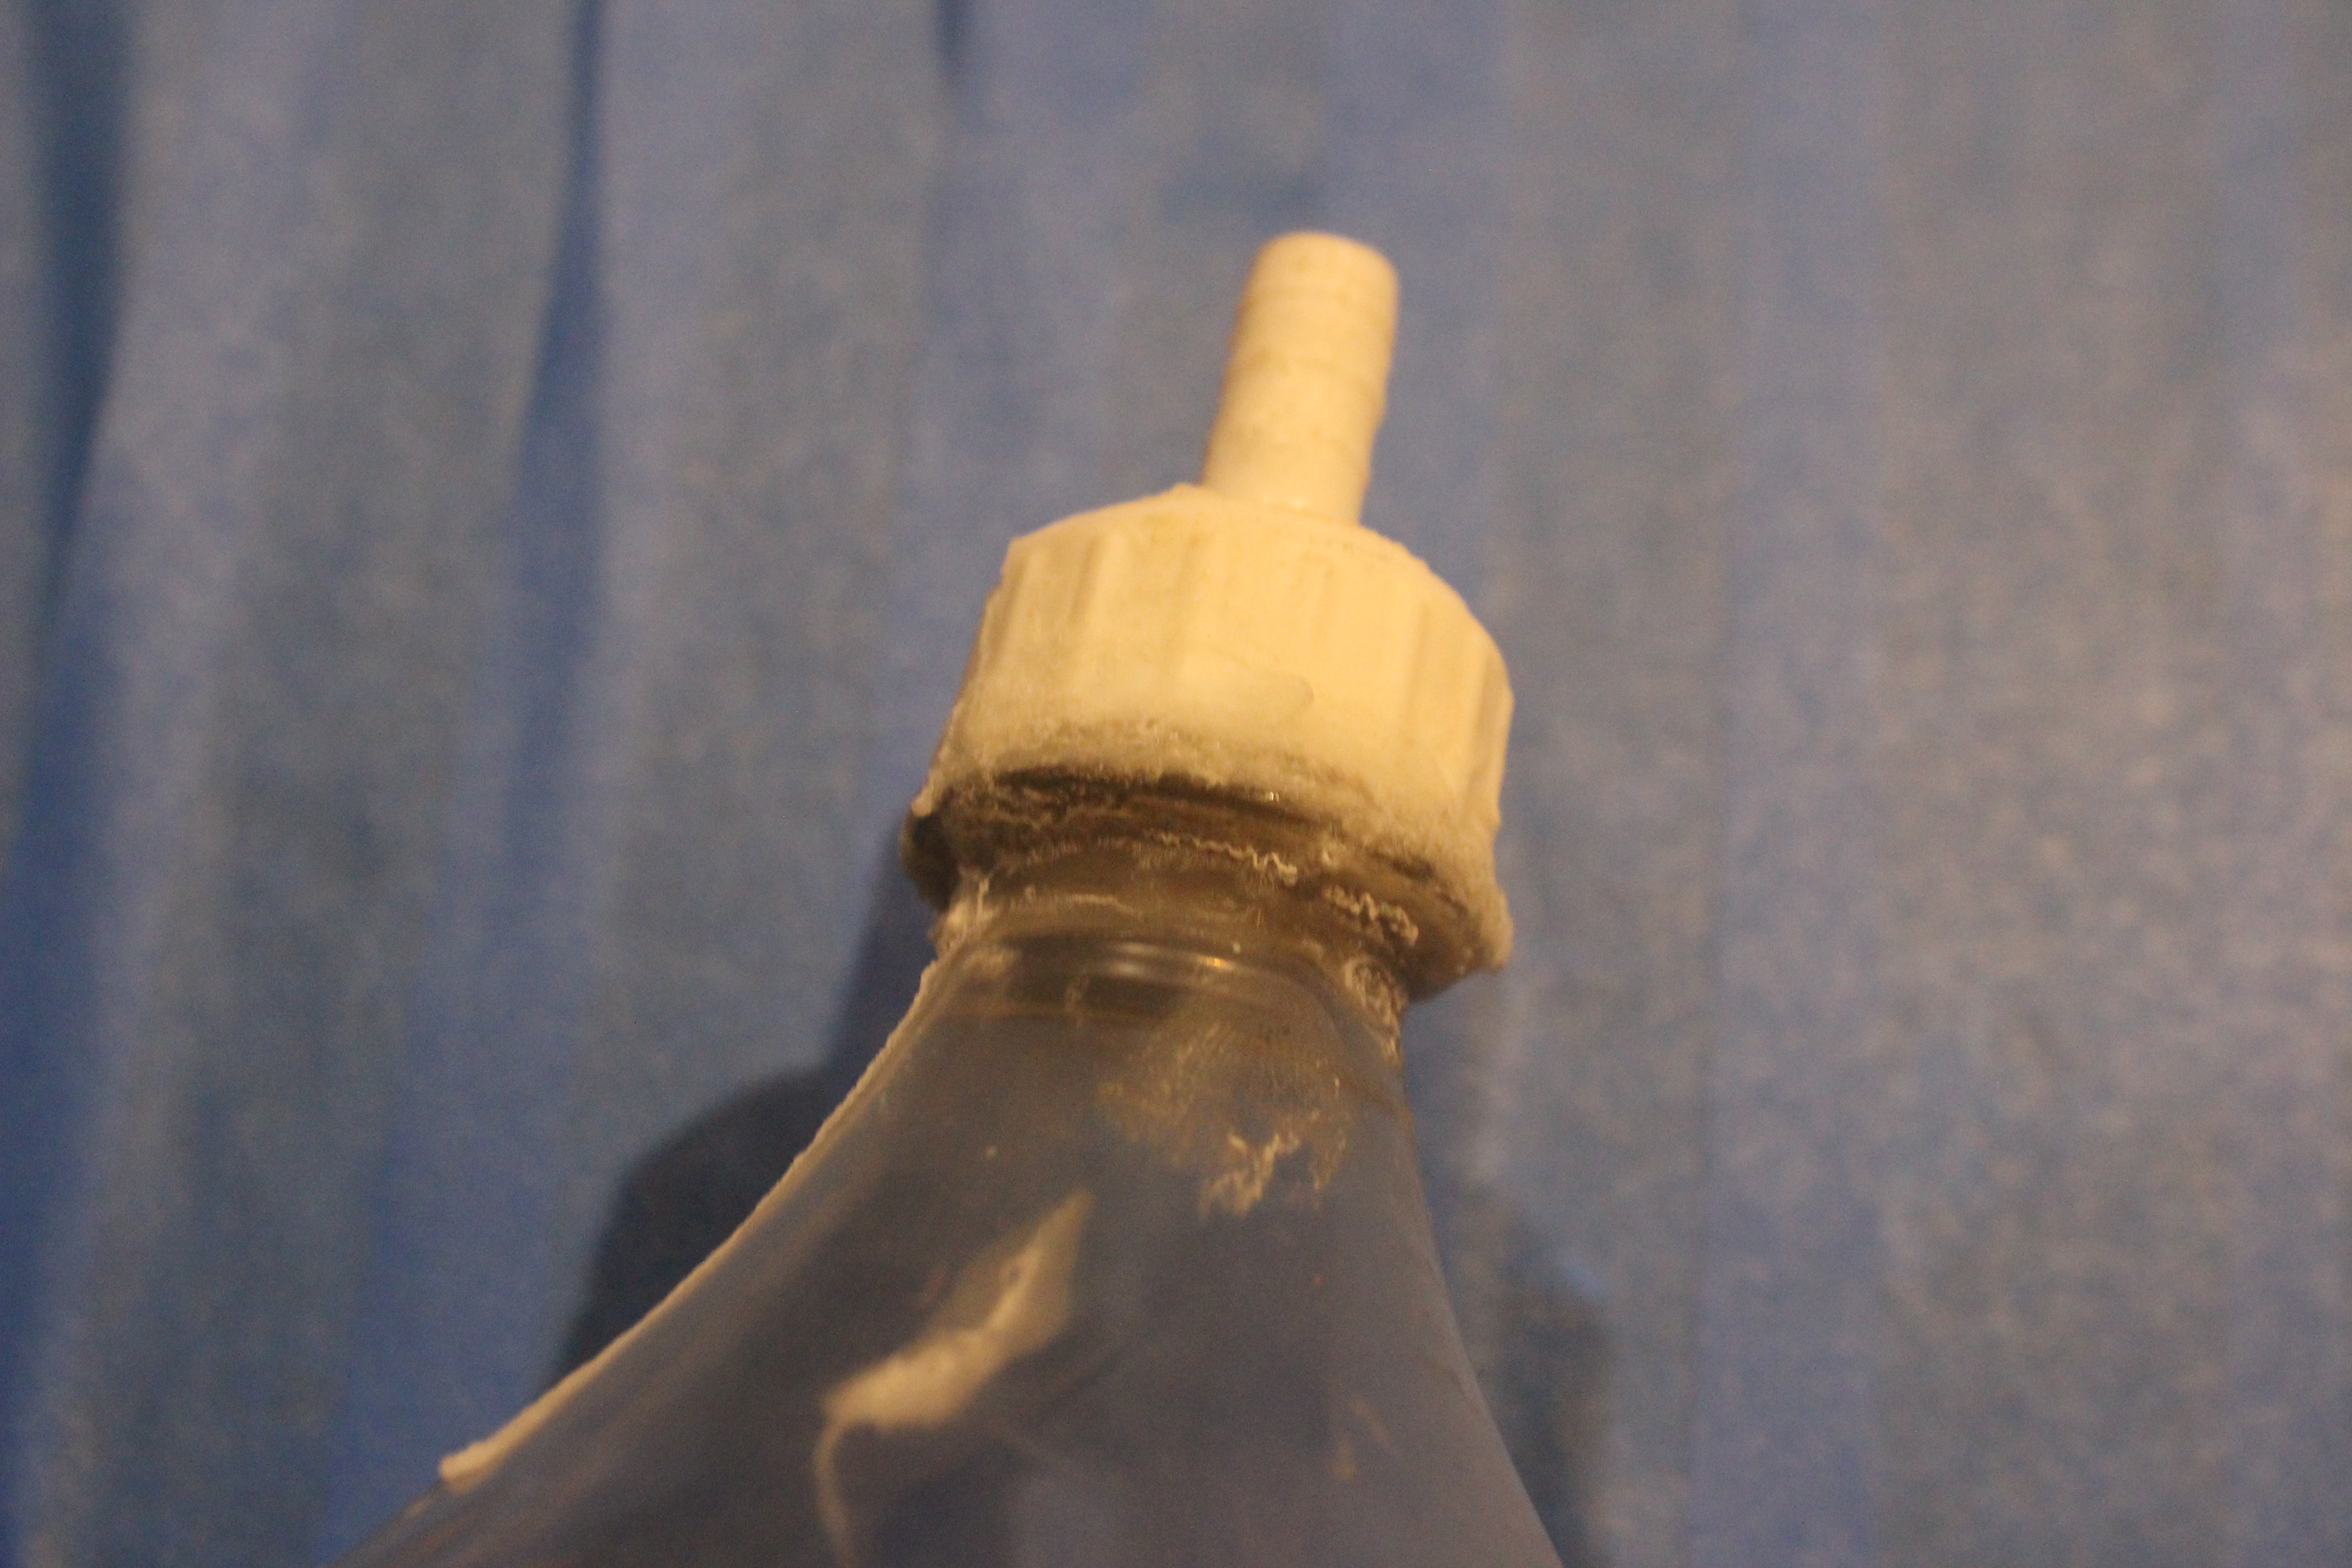
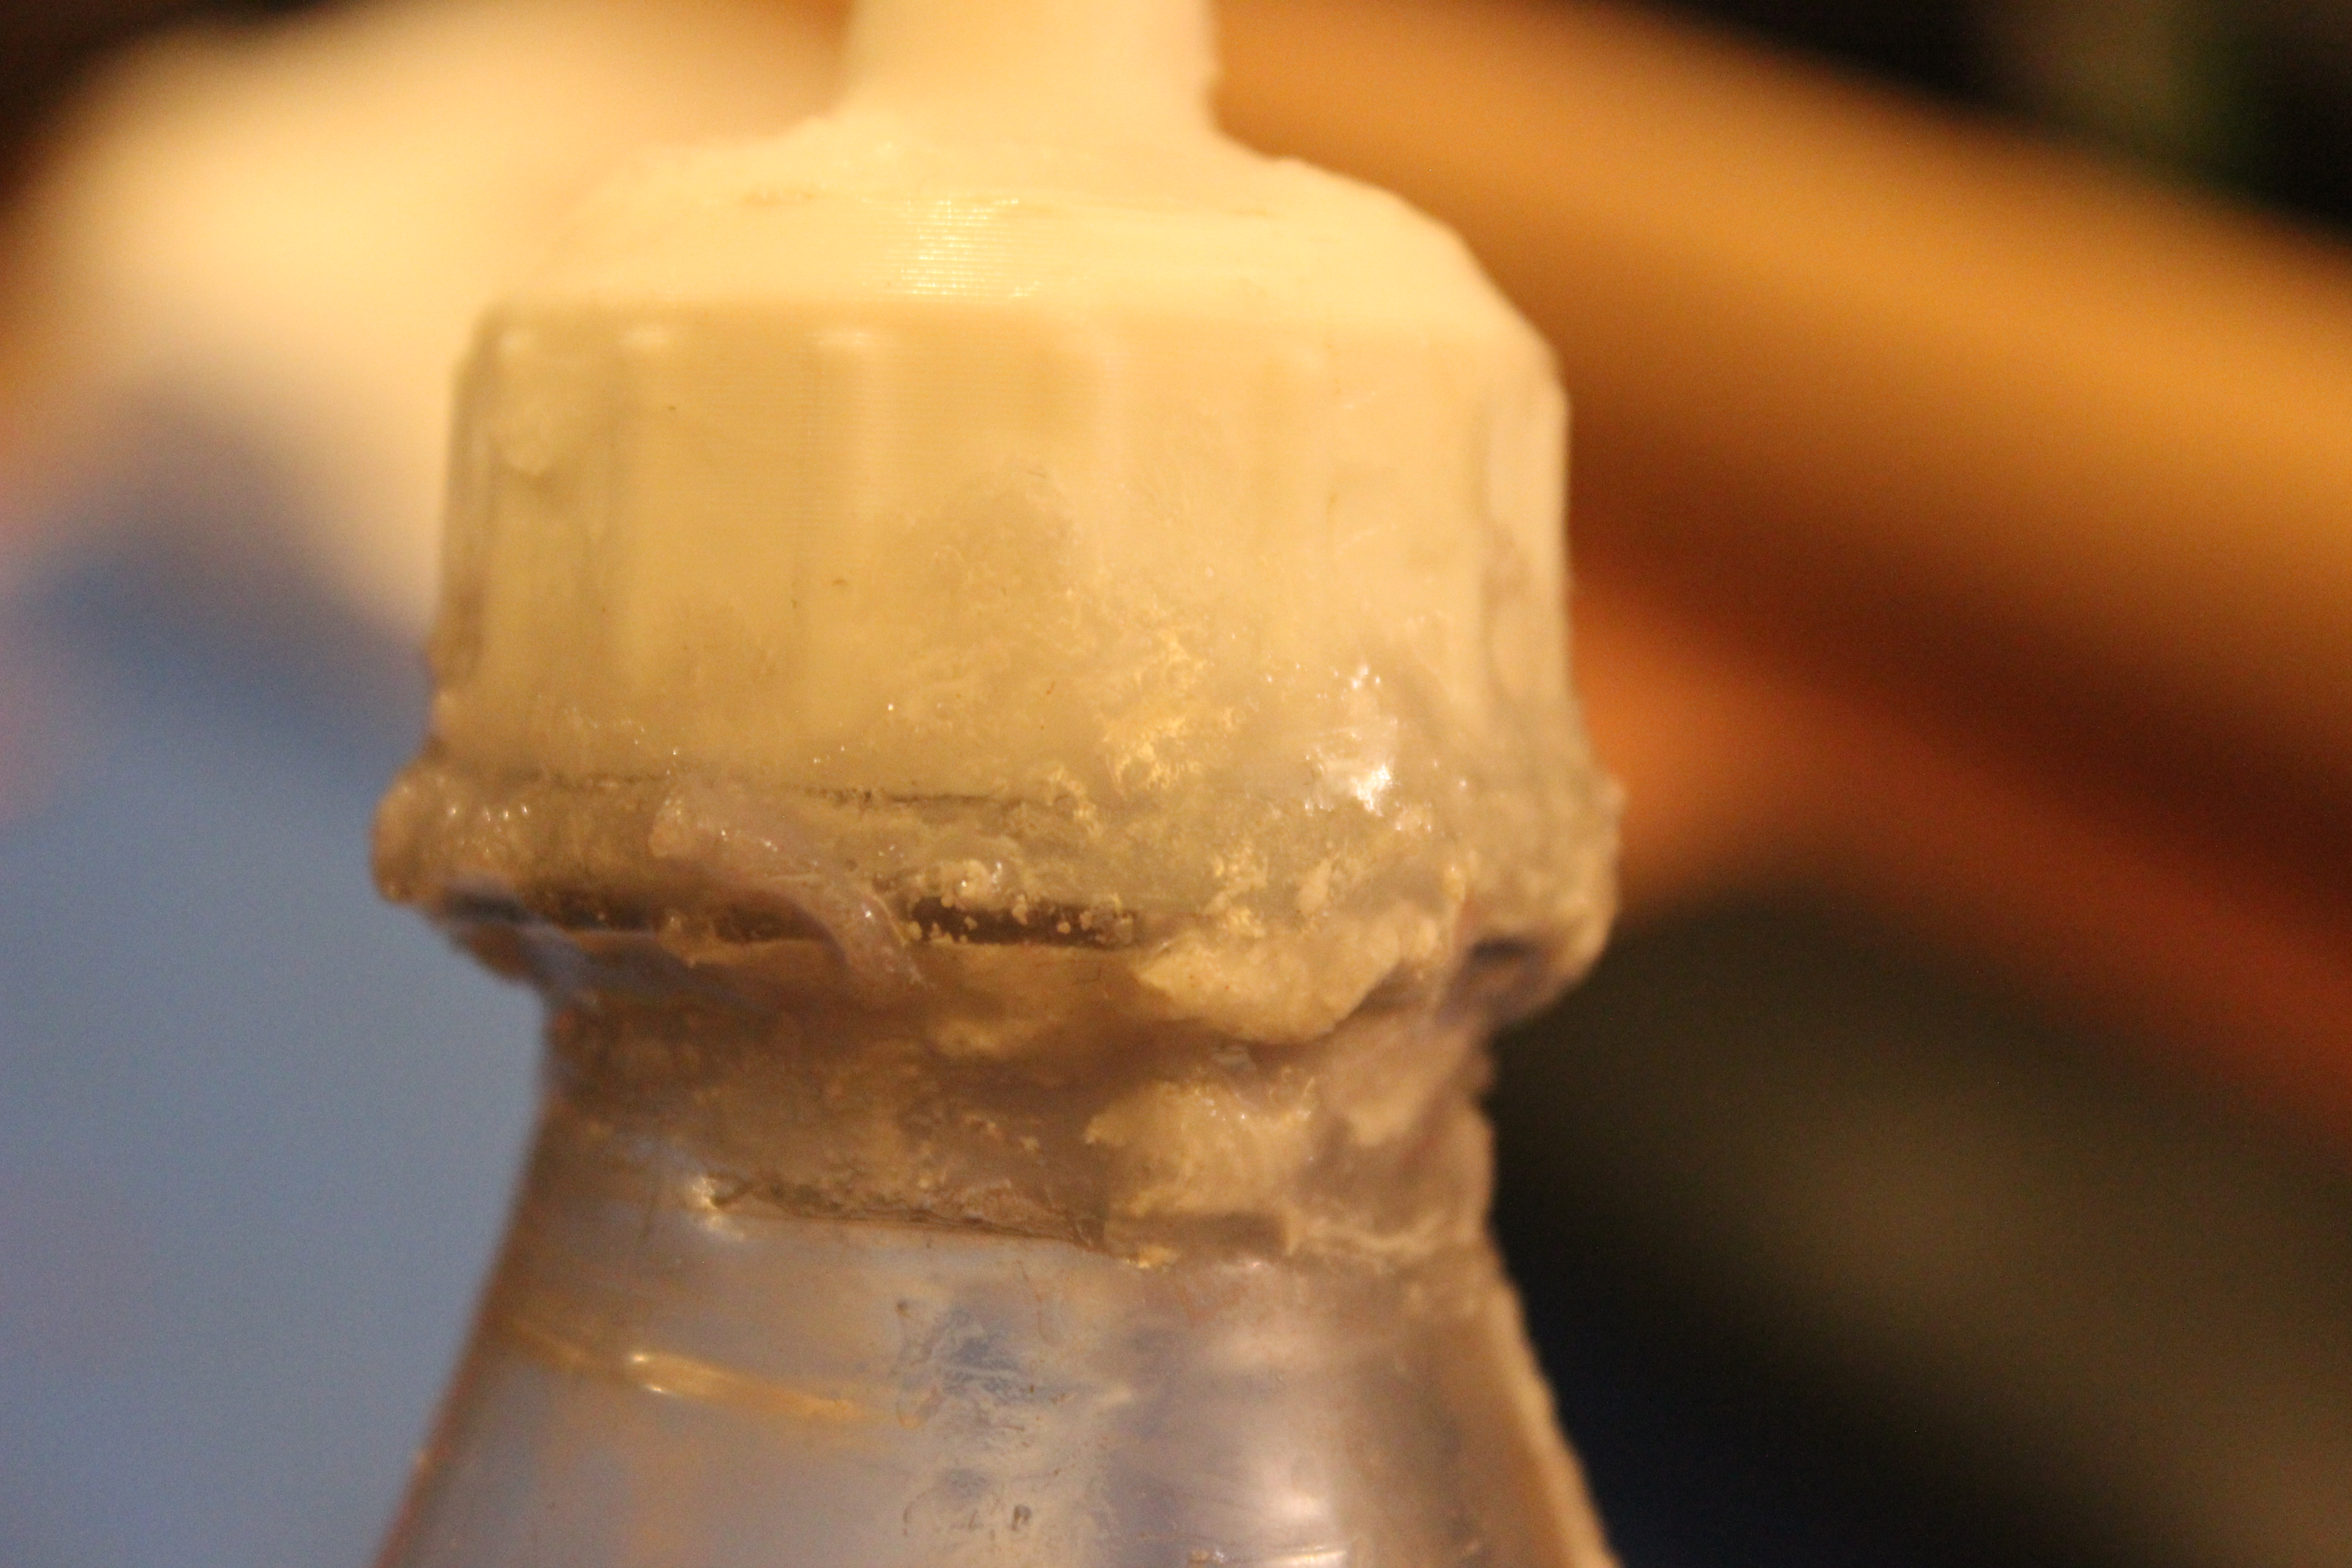
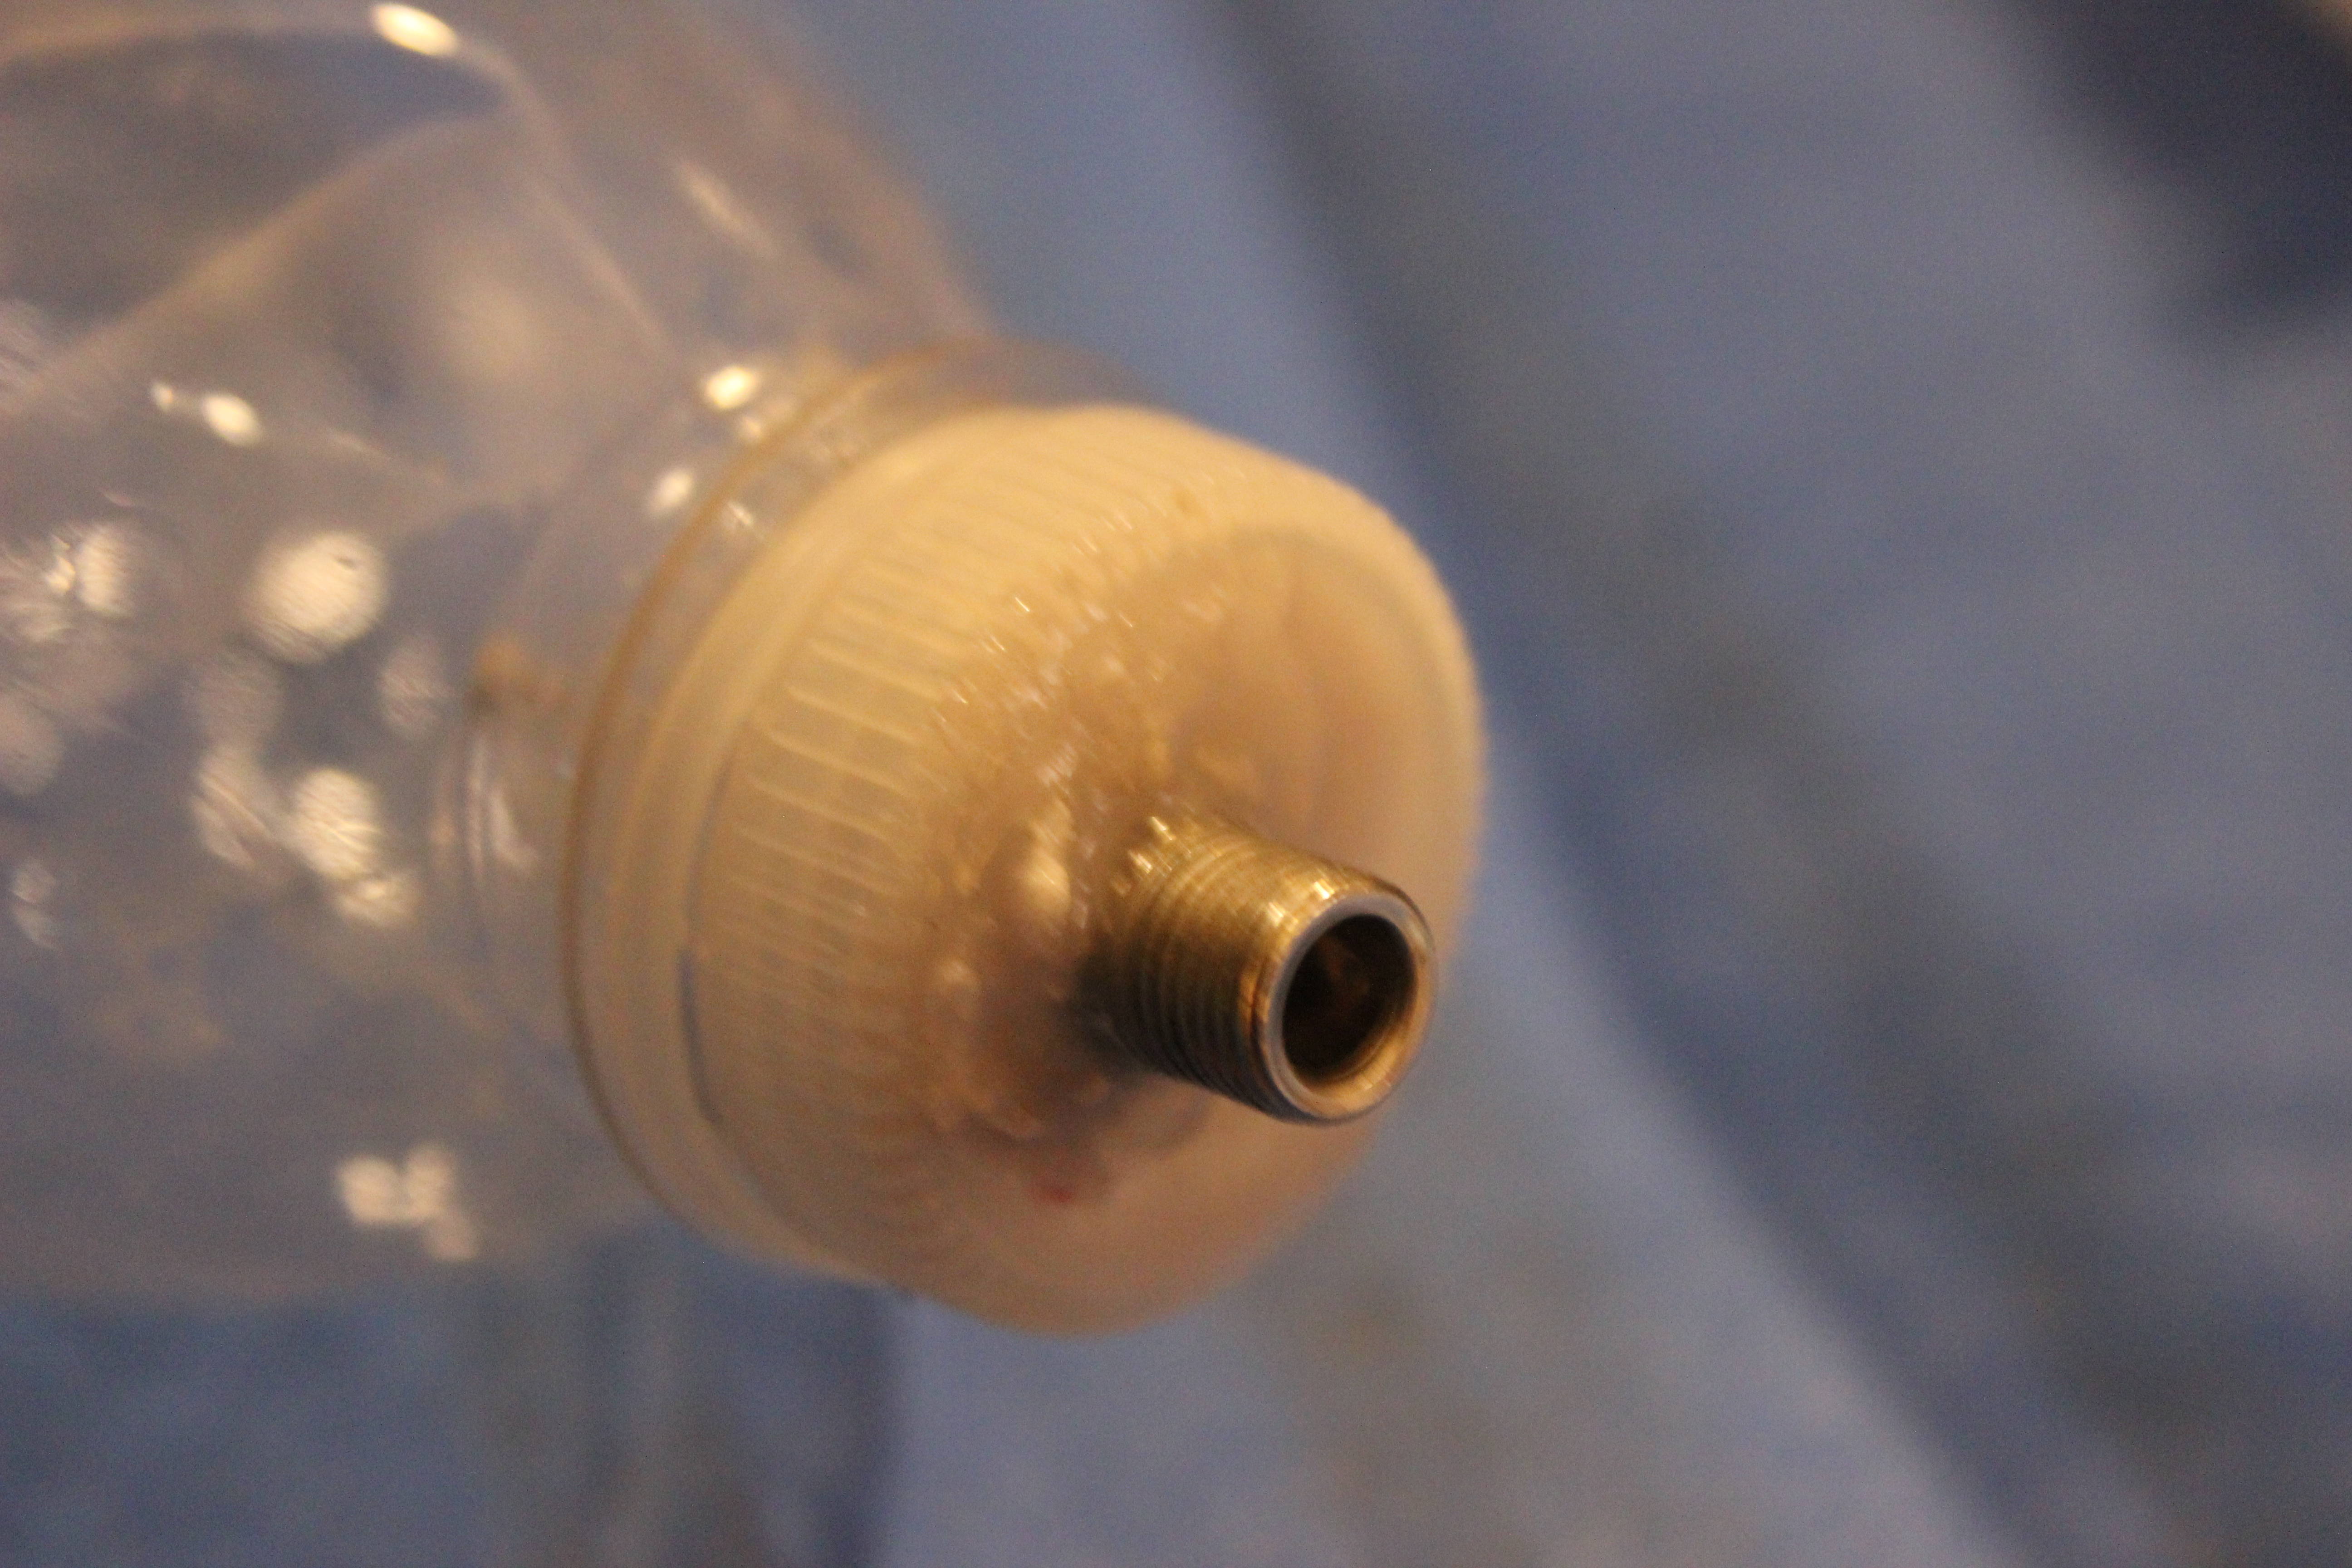
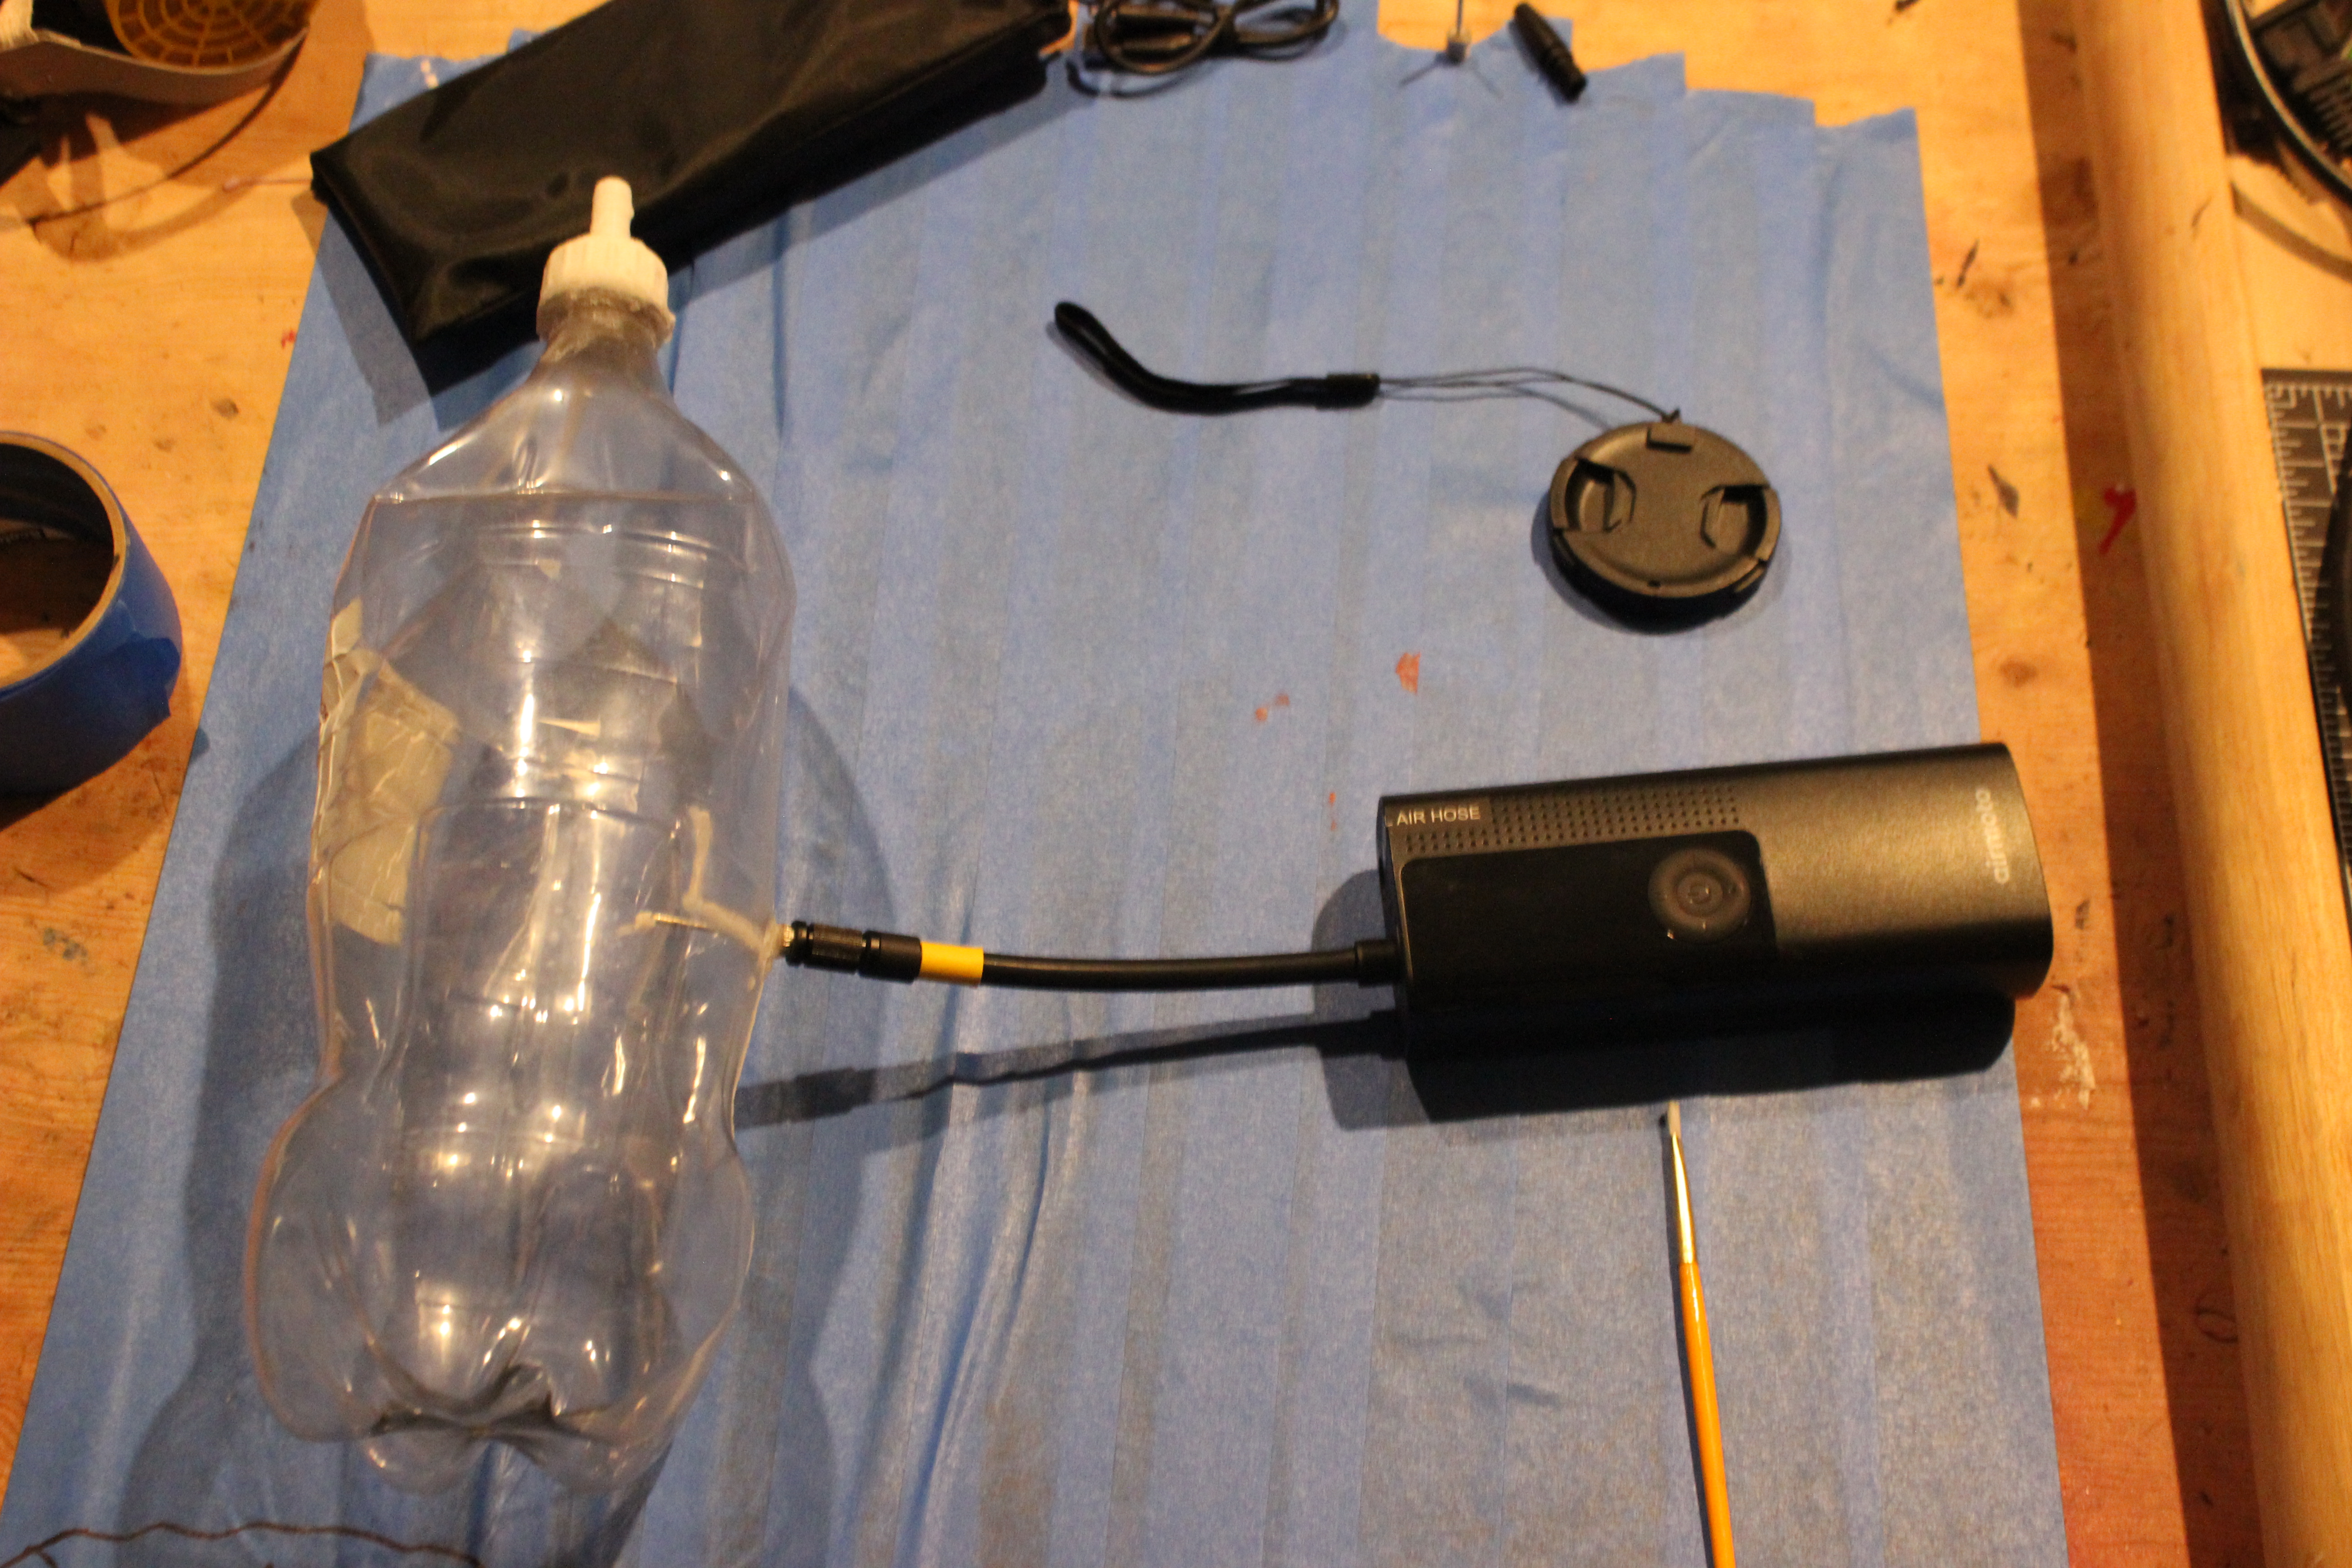
one smaller bottle will not have a exit valve, while the larger soda bottle will have a barbed exit connecter.
to do this you I used:
general:
1 large soda bottle
1 small water bottle
1 air compressor (manual or automatic)
1 3d printed barbed exit cap
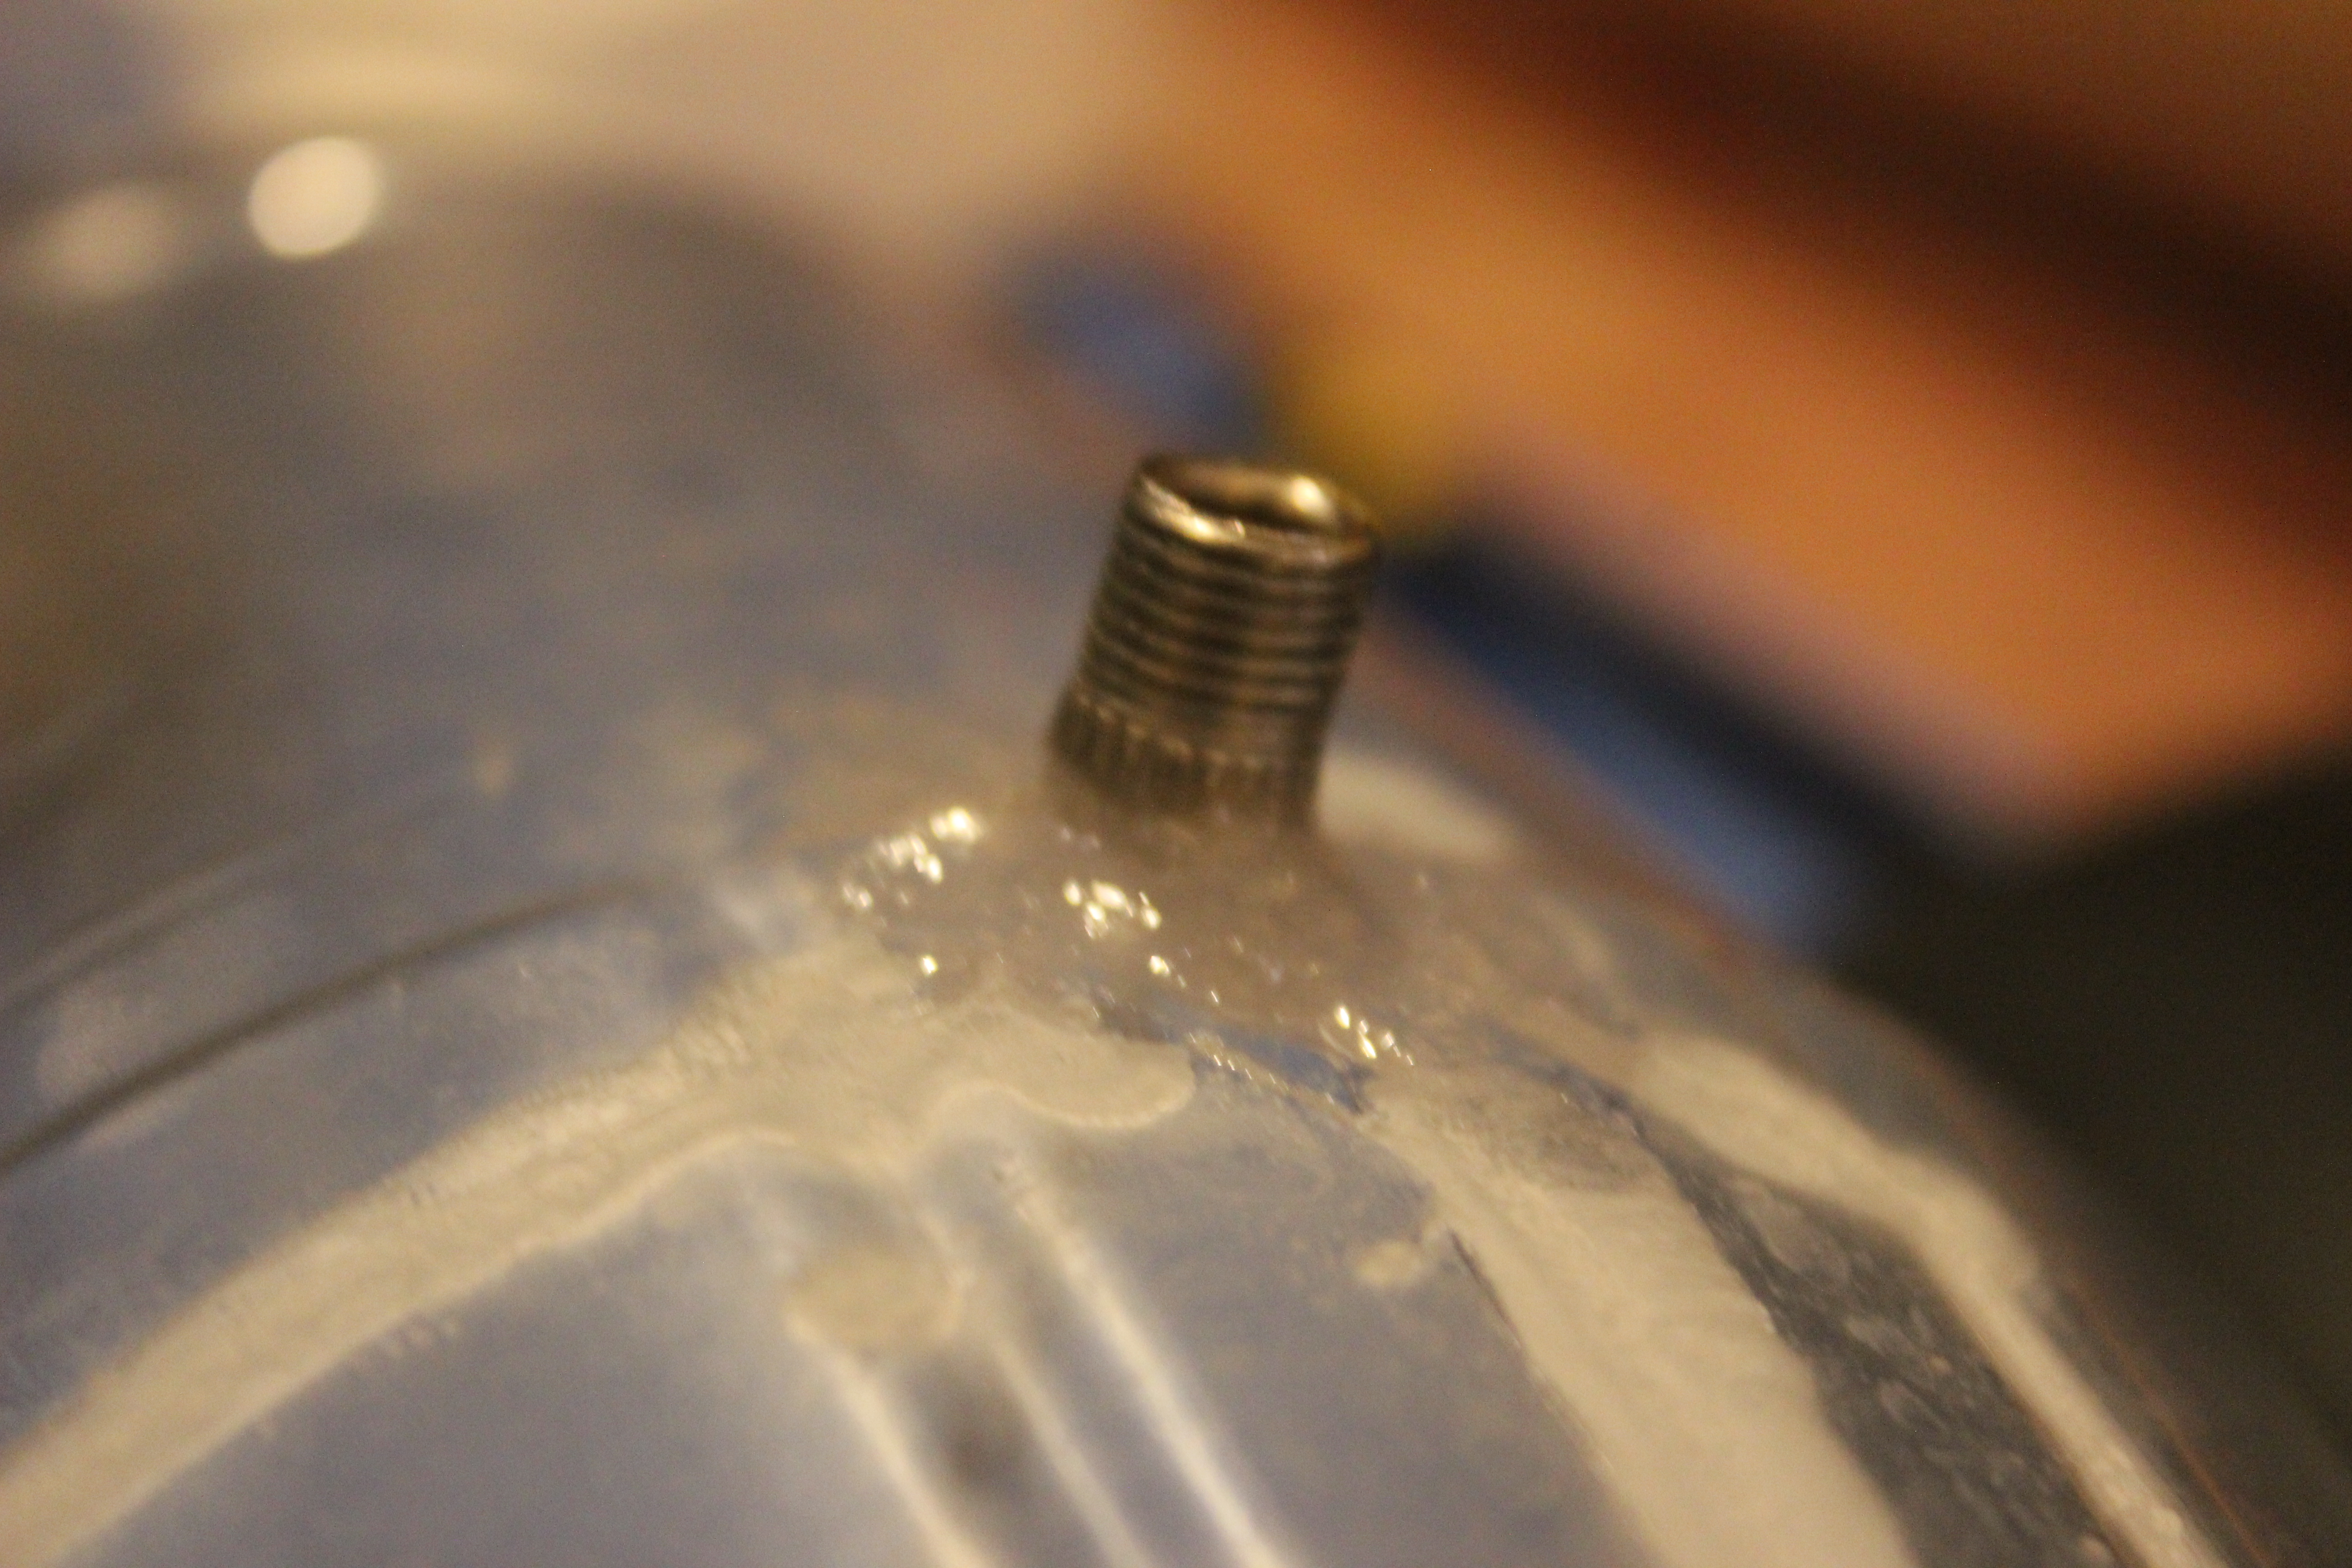
1 ball pump needle
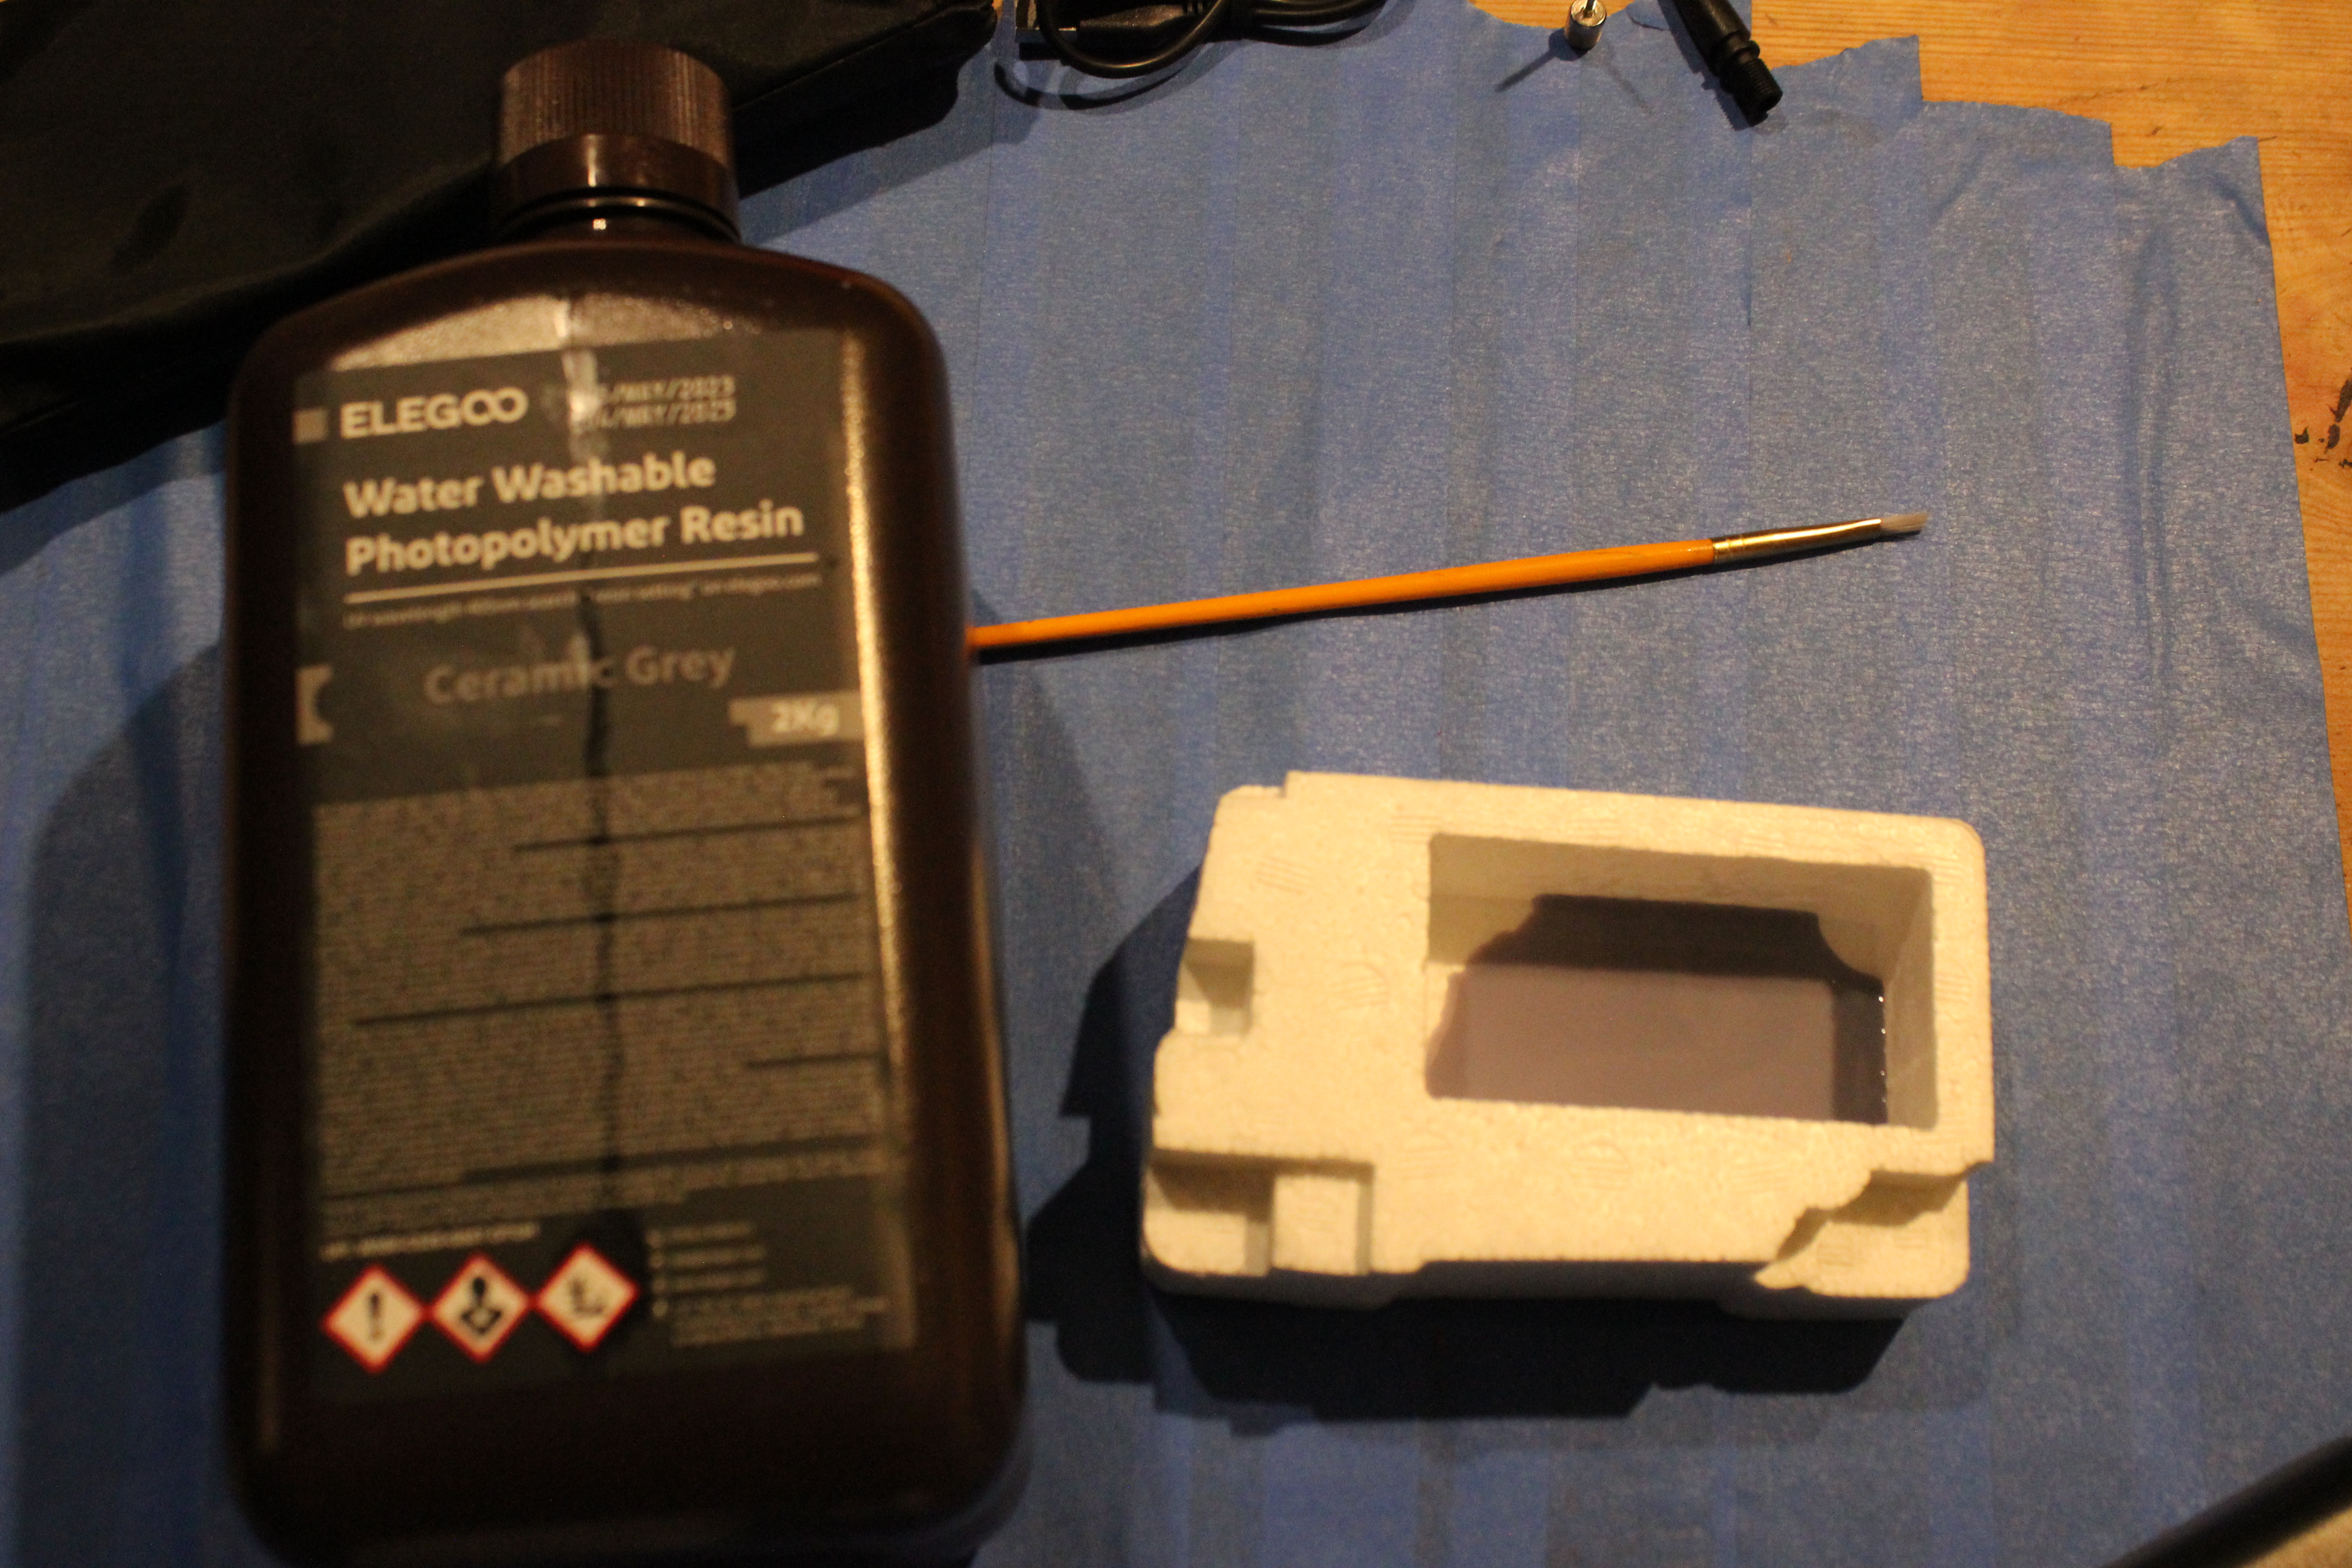
sealants:
super glue (larger gaps)
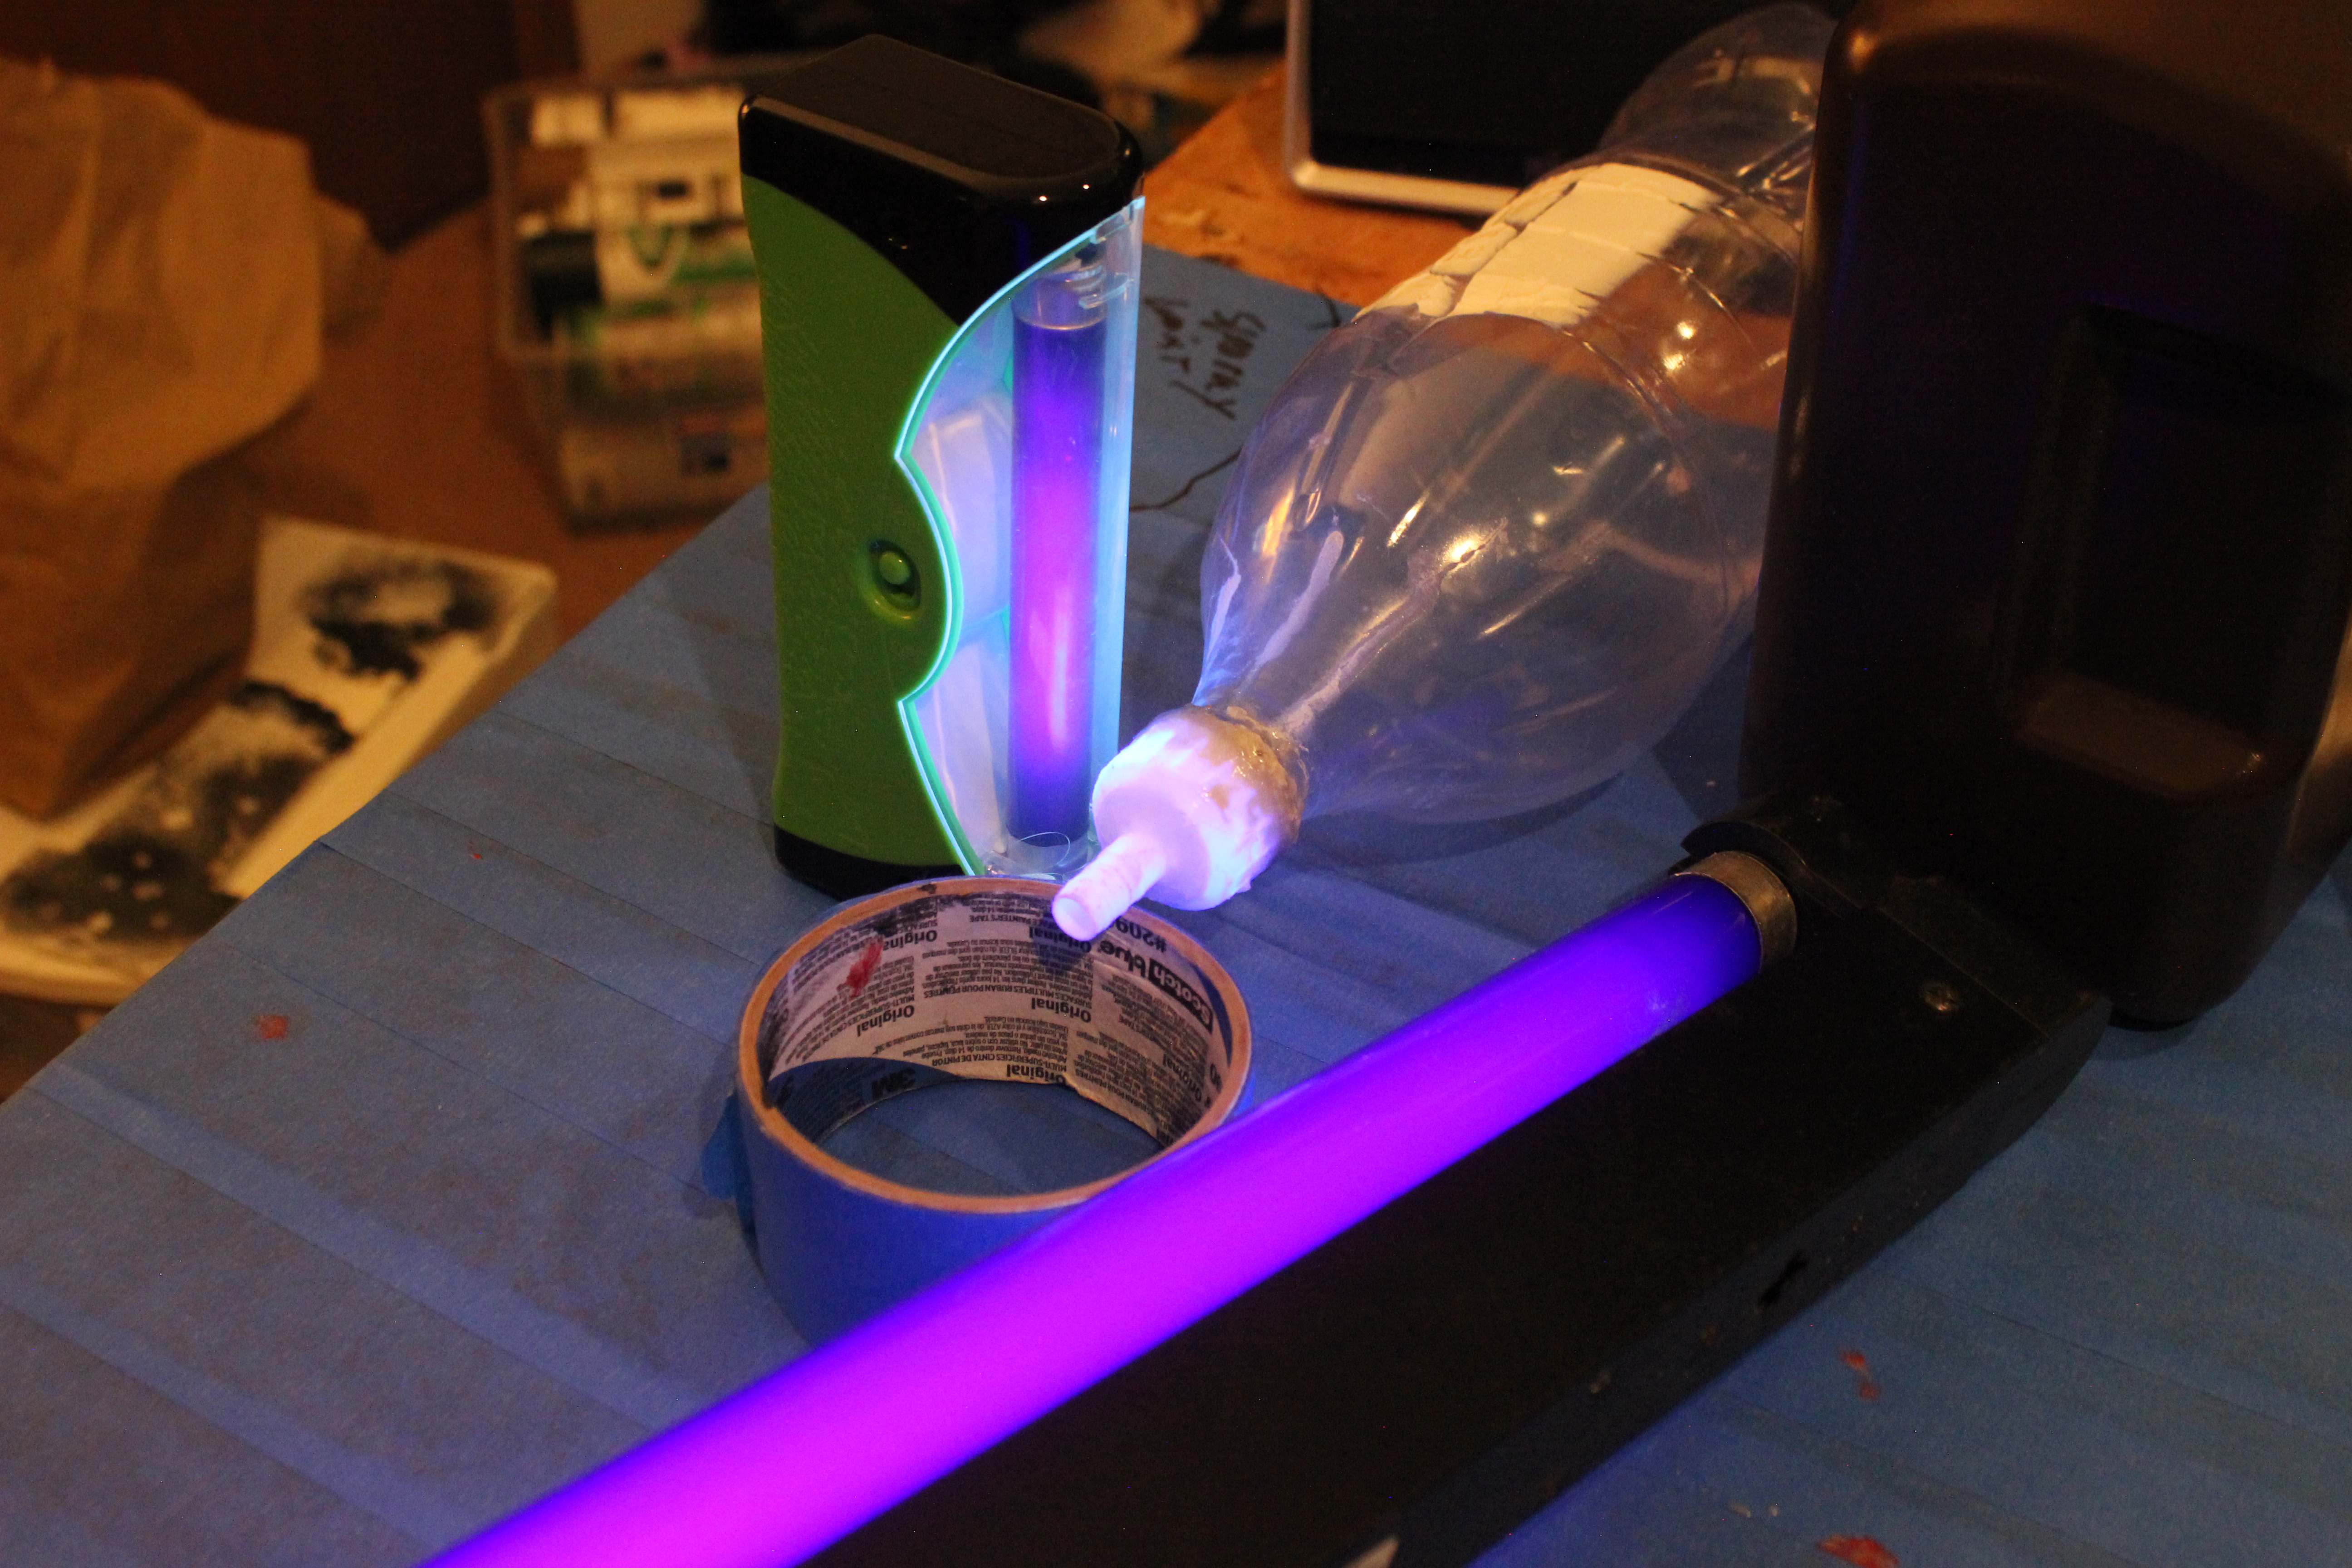
UV resin (smaller air tight gaps)
safety equipment (if using UV resin):
nitrile gloves
half-face respirator