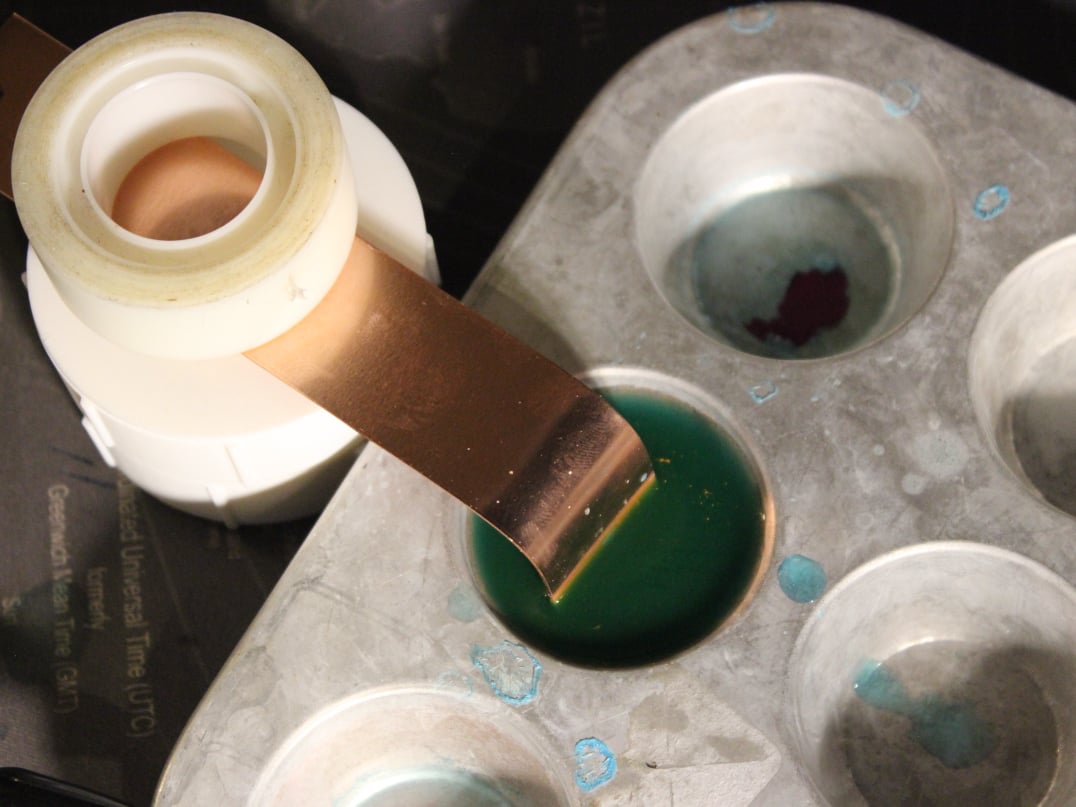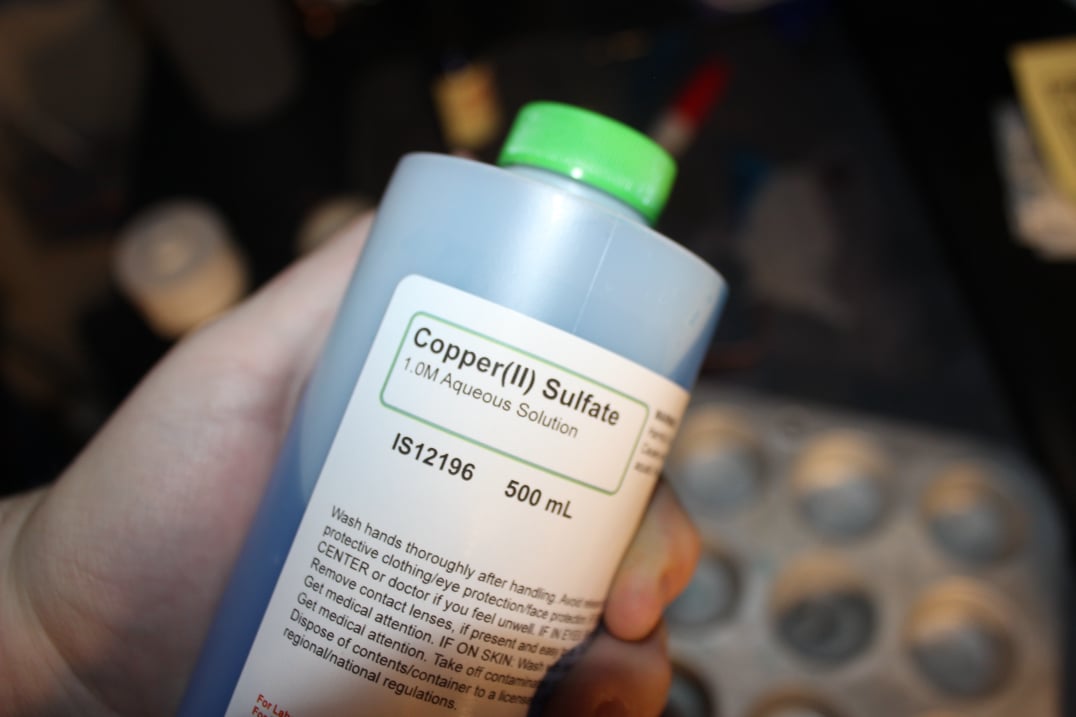
The materials are very similar to part one except instead of normal water we have a correctly mixed solution of Copper (II) Sulfate. Another notable change was that of the source of copper, instead of the original copper pipe I bought some high purity copper sticks to ensure a better reaction.
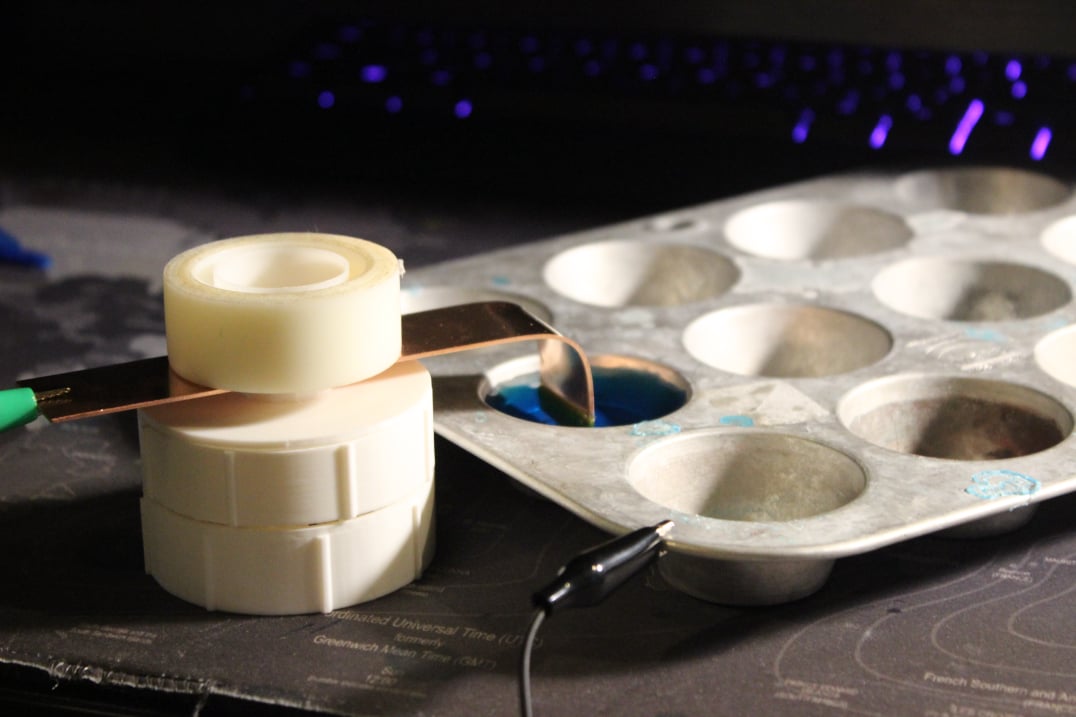
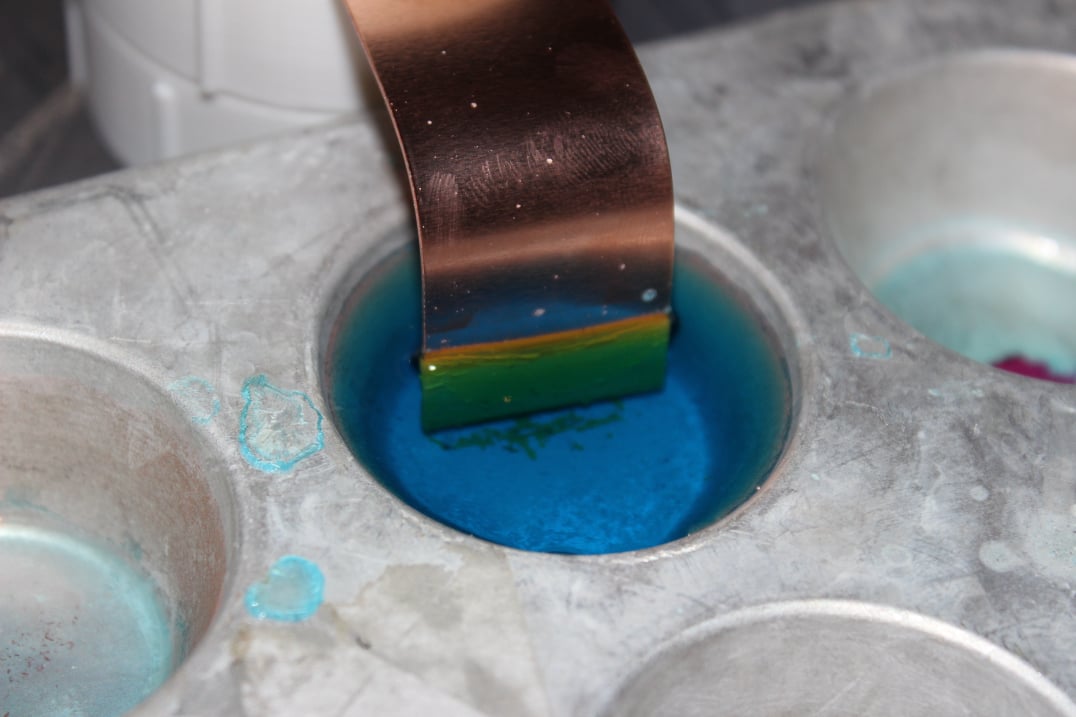
It was amazing to watch the reaction take place as the copper started to almost "decay" into small pieces in the light blue water (fig 1). After 20 minutes the water started to become darker and darker and became more opaque (fig 2). I then slowly removed the solution into sealed glassware.
(fig 2) late stage of the reaction
(fig 1) early stage of the reaction
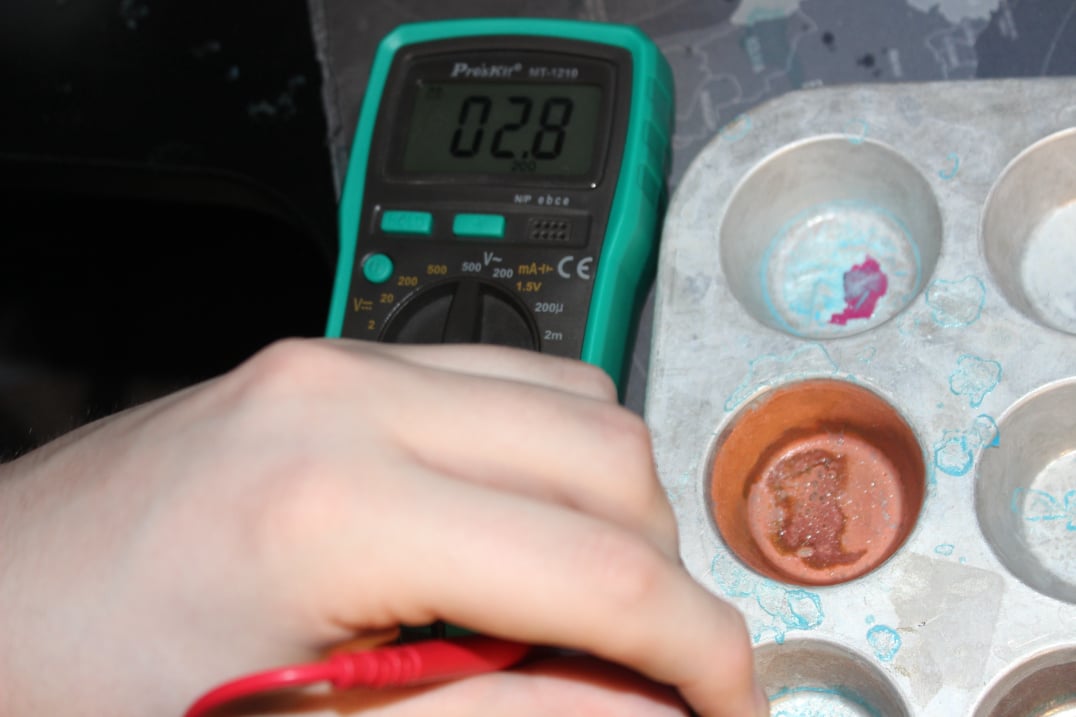
(fig 4) electrical resistance of new layer of copper
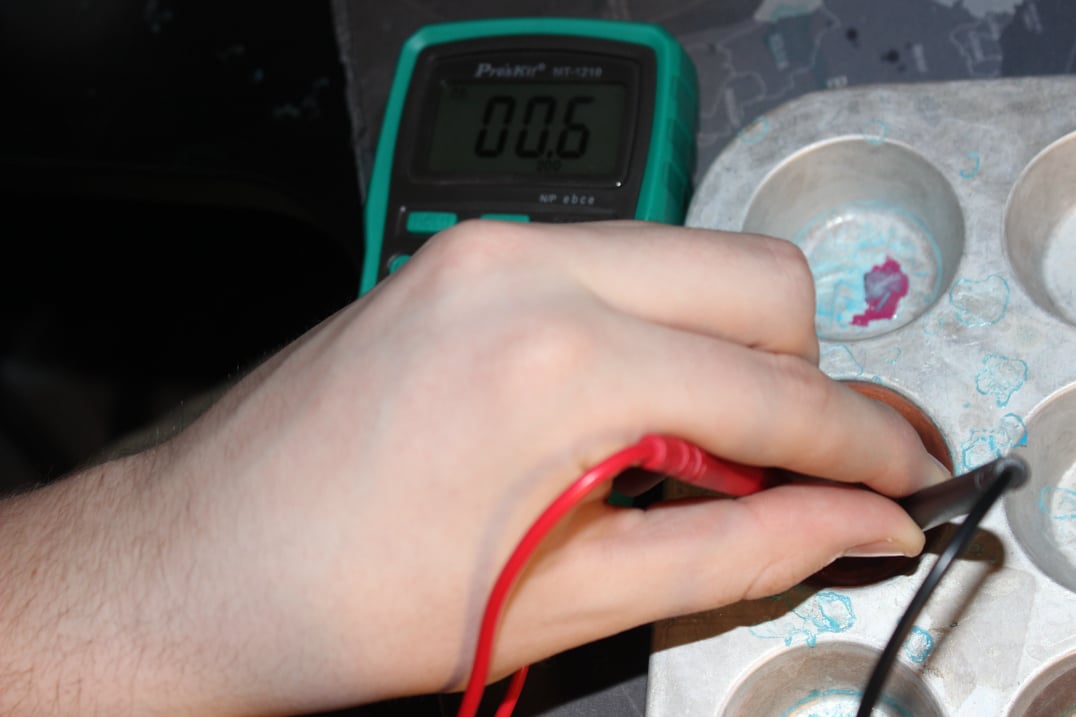
(fig 3) electrical resistance of the raw metal tray
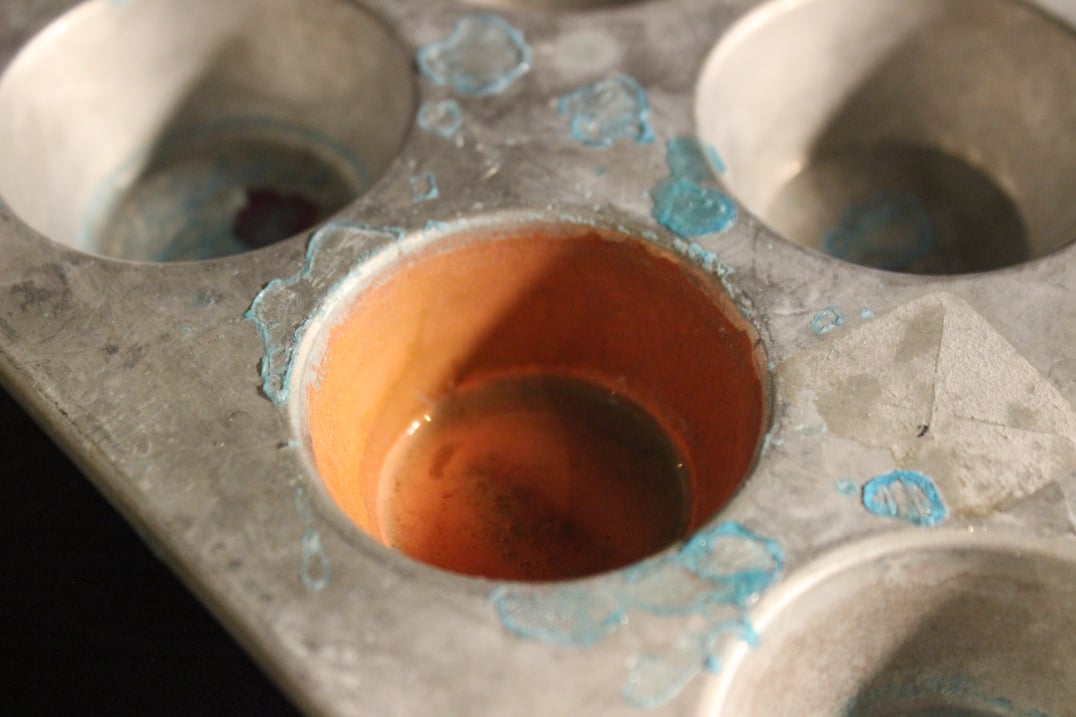
I am extremely excited with the results, a great thick copper layer was formed all around the cup. it was also to see how the electrical resistance decreases from the raw metal (fig 3) to the new layer copper (fig 4)
The robust copper layer obtained shows the strength of the process and sets a promising foundation for further exploration and in future projects regards things such as PCBs and homemade motors.
Free AI Website Software