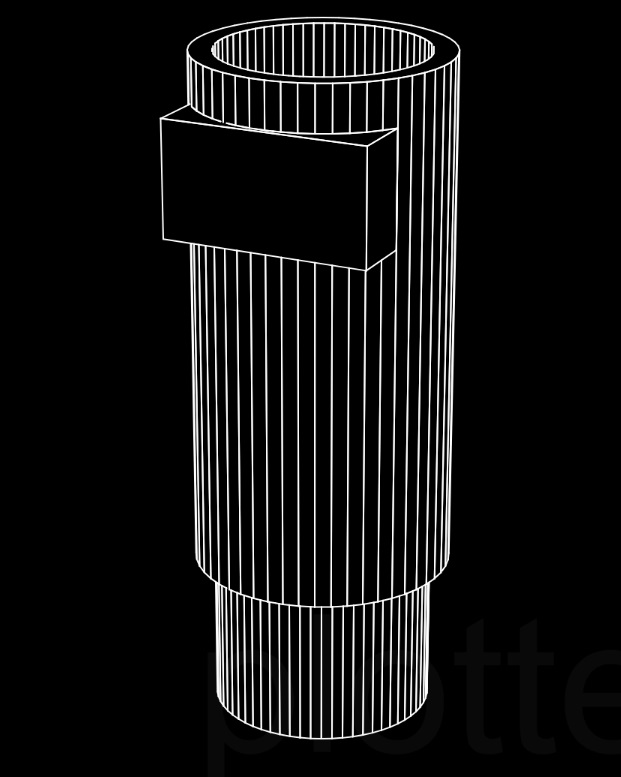
Version 0.1
i am starting off by trying to make the "sheath" which will be a tube that wraps rightly around the bike seat, this is make sure we have a solid anchor point to build off of.
The Issue
I ride my electric bike to school everyday, i love it.
there is however one small issue.
carrying around my textbooks, iPad and notebooks all day is a pain.
When I ride around on the weekends running errands getting anything that can't fit in my pockets is a pain.
The goal of this project is to build a rack that goes over the back wheel of my bike that i can hook my bag onto, so I can carry heavy loads safely.

i am starting off by trying to make the "sheath" which will be a tube that wraps rightly around the bike seat, this is make sure we have a solid anchor point to build off of.
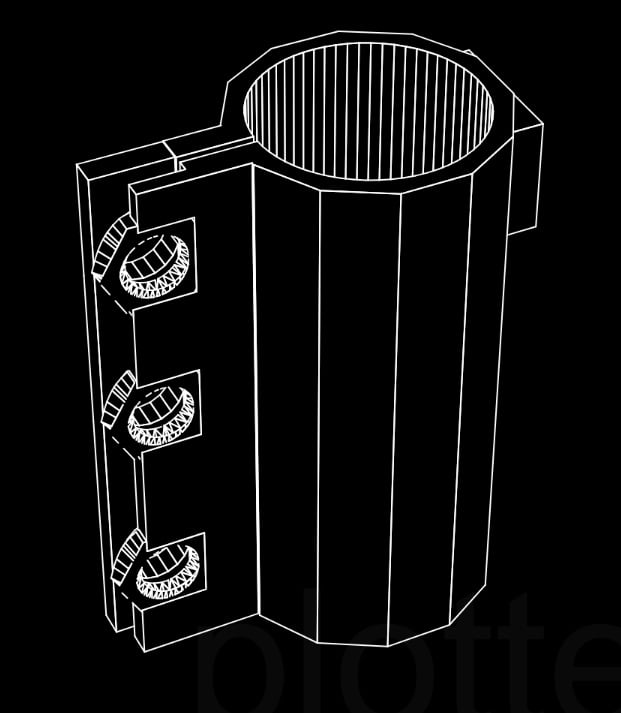
i found that sliding the bottom of the sheath to wedge it into the gap between the seat and the frame of the bike didn't fit at all. So I modeled a more traditional approach where bolts screw into horizontally mounted nuts to cause a "gripping" force around the bike seat.
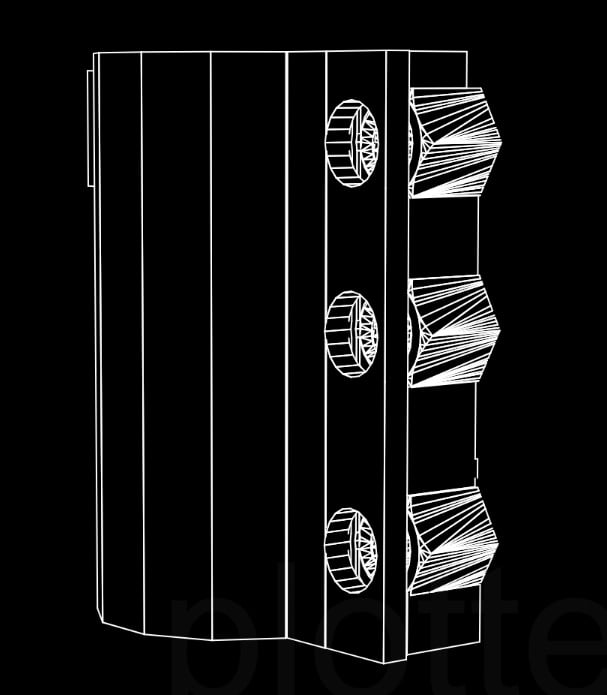
after some slight model editing and infill adjustments I ended with something that did wrap around the bike seat correctly without snapping.
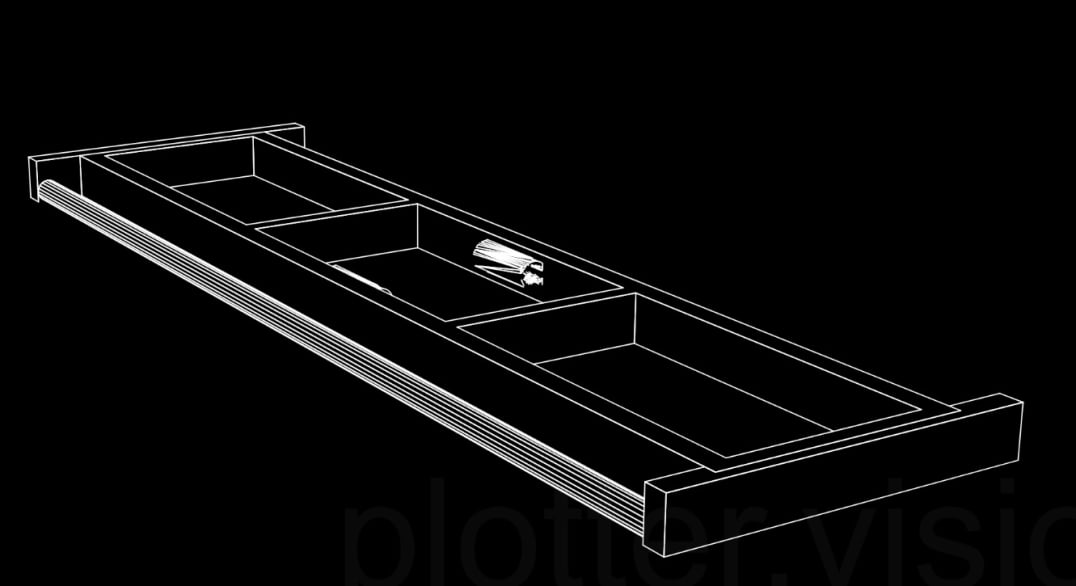
now that I had a solid foundation to work off of I decided to model out the main "body" of the rack it was double the max Z height for my p1p printer of 250mm so I had to cut it in half. Then use the bolts in the middle to align it in place and finally I carefully screwed and glued it together.
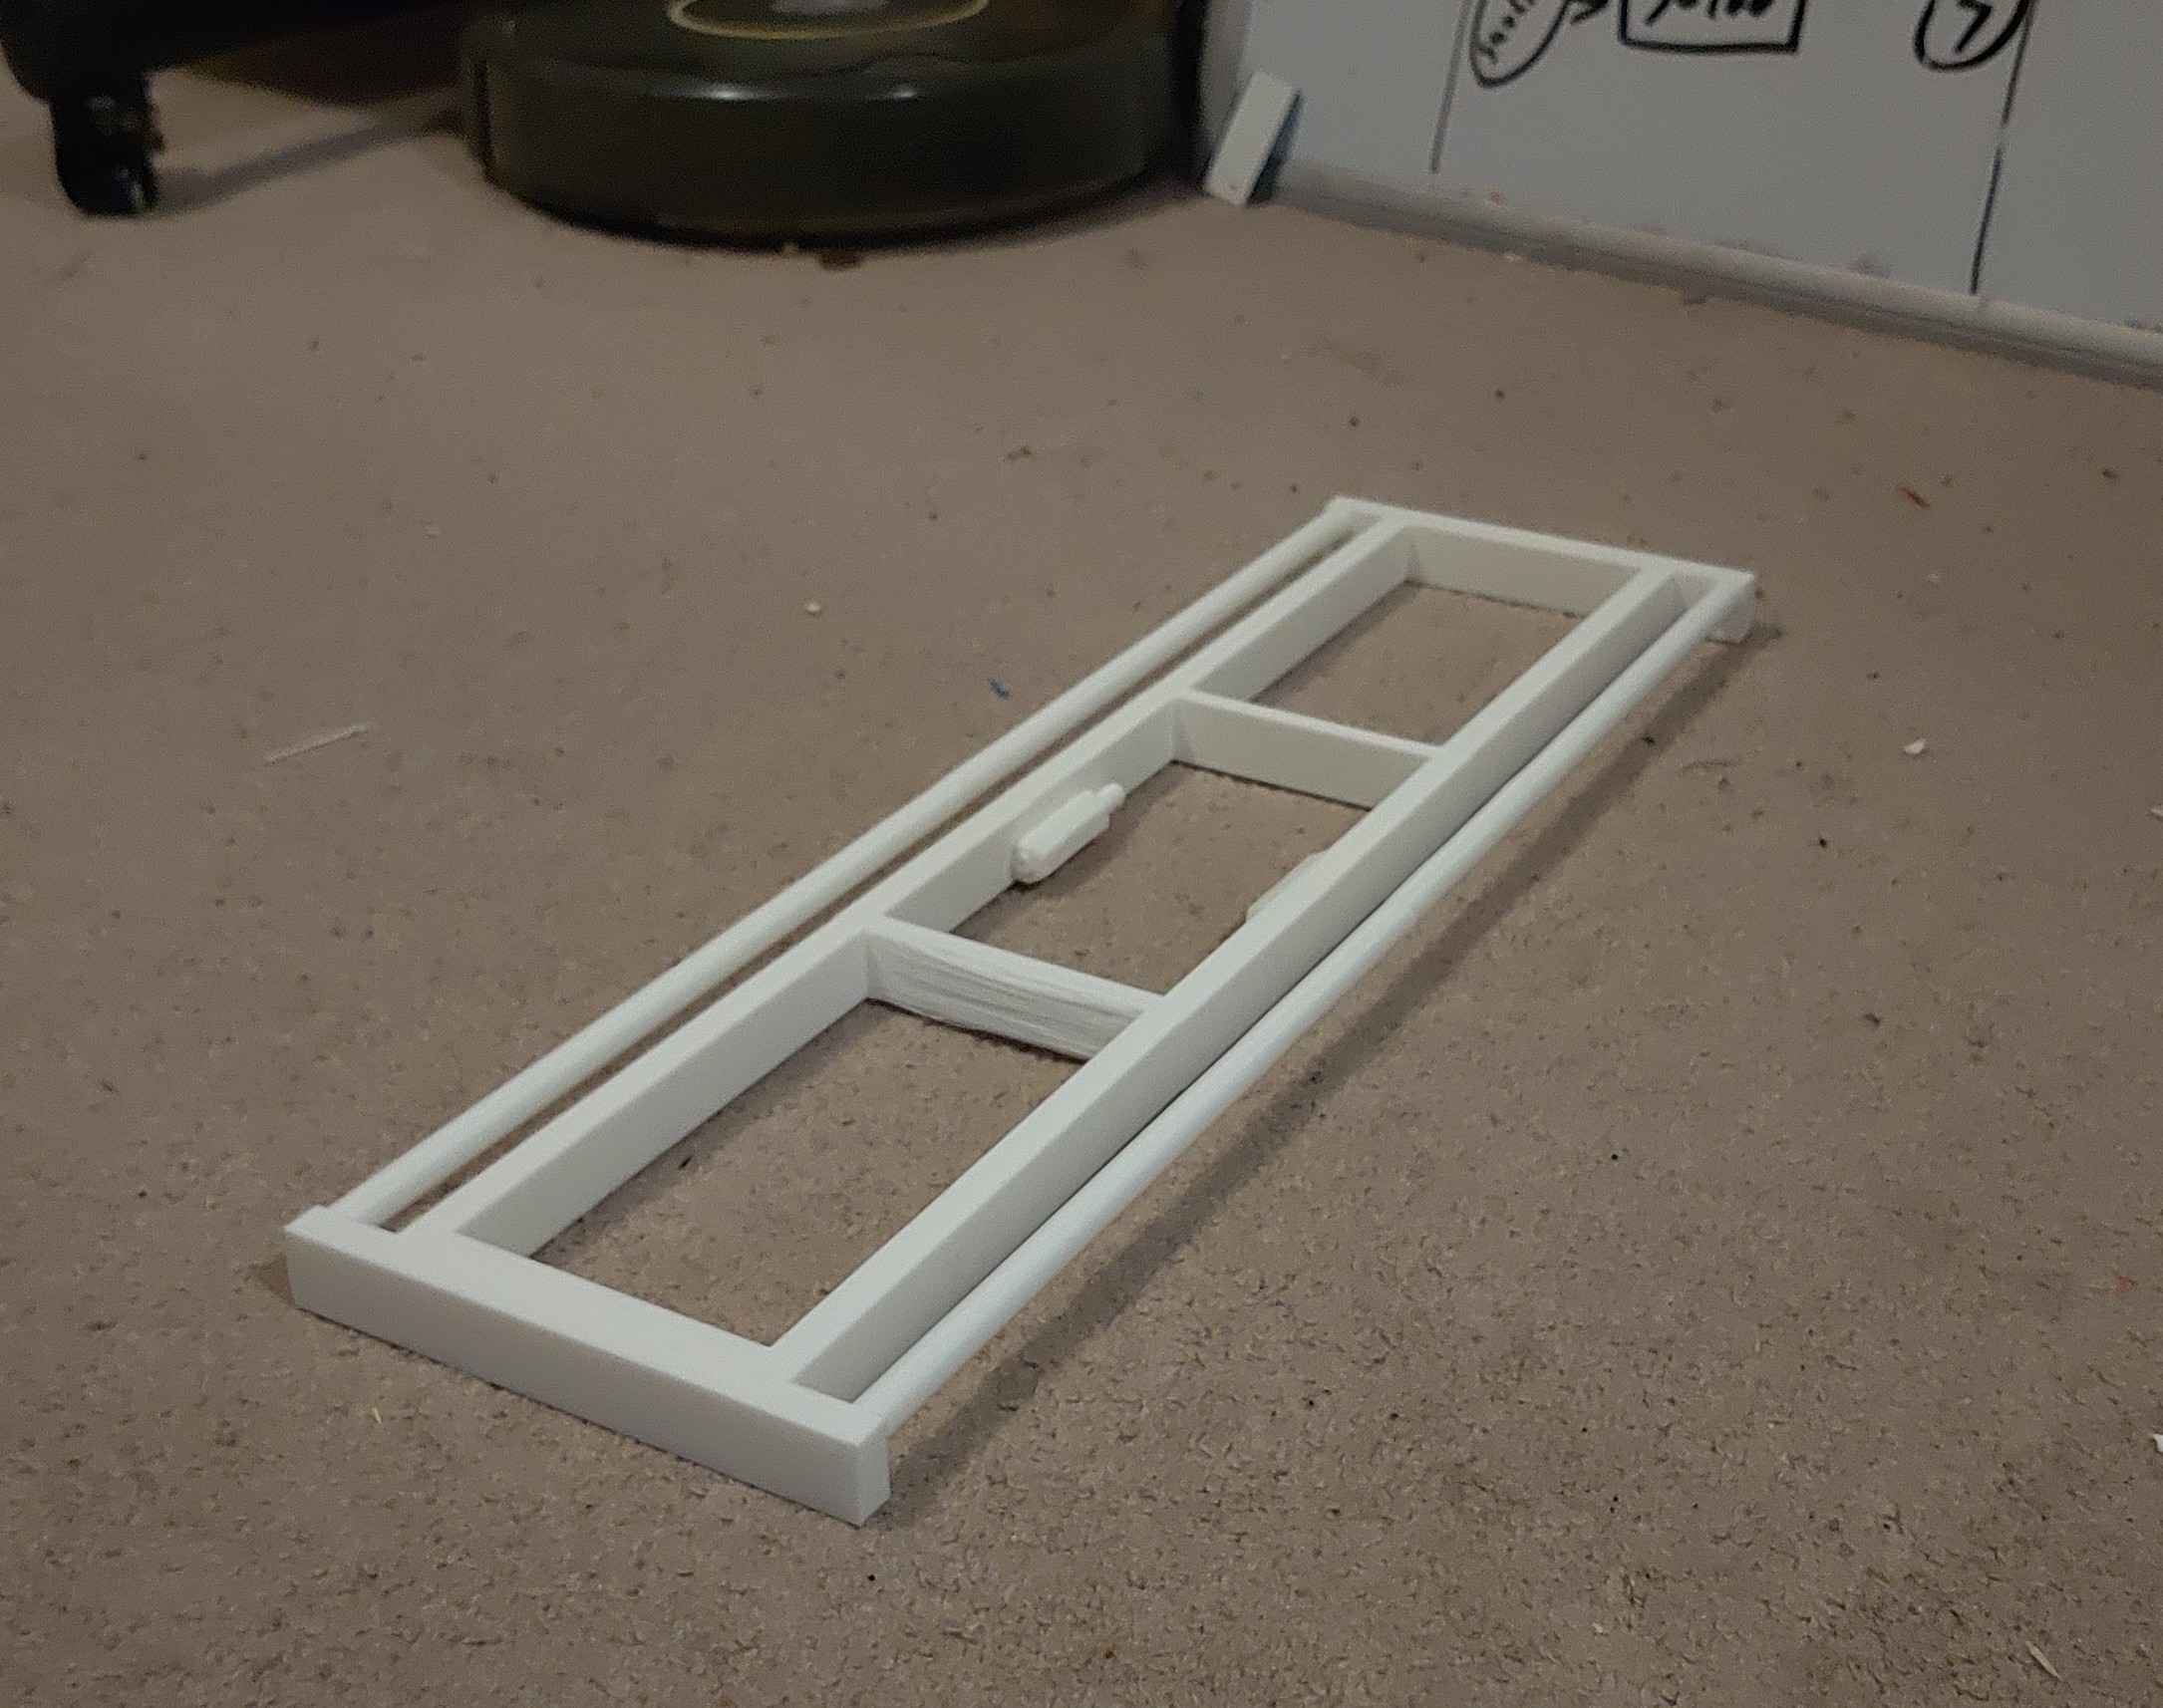
this is a fact i seem to commonly forget. main "body" of the rack was printed in two pieces and then connected by bolts, then superglued together along the seem. sadly after some basic testing with some gym free weights and some basic napkin math. I figured out that it would never be strong enough to carry my backpack (let along heavier items). After some looking around i did find a metal based rack that was strong, but wouldn't fit to the stem, so my work was not totally in vain.
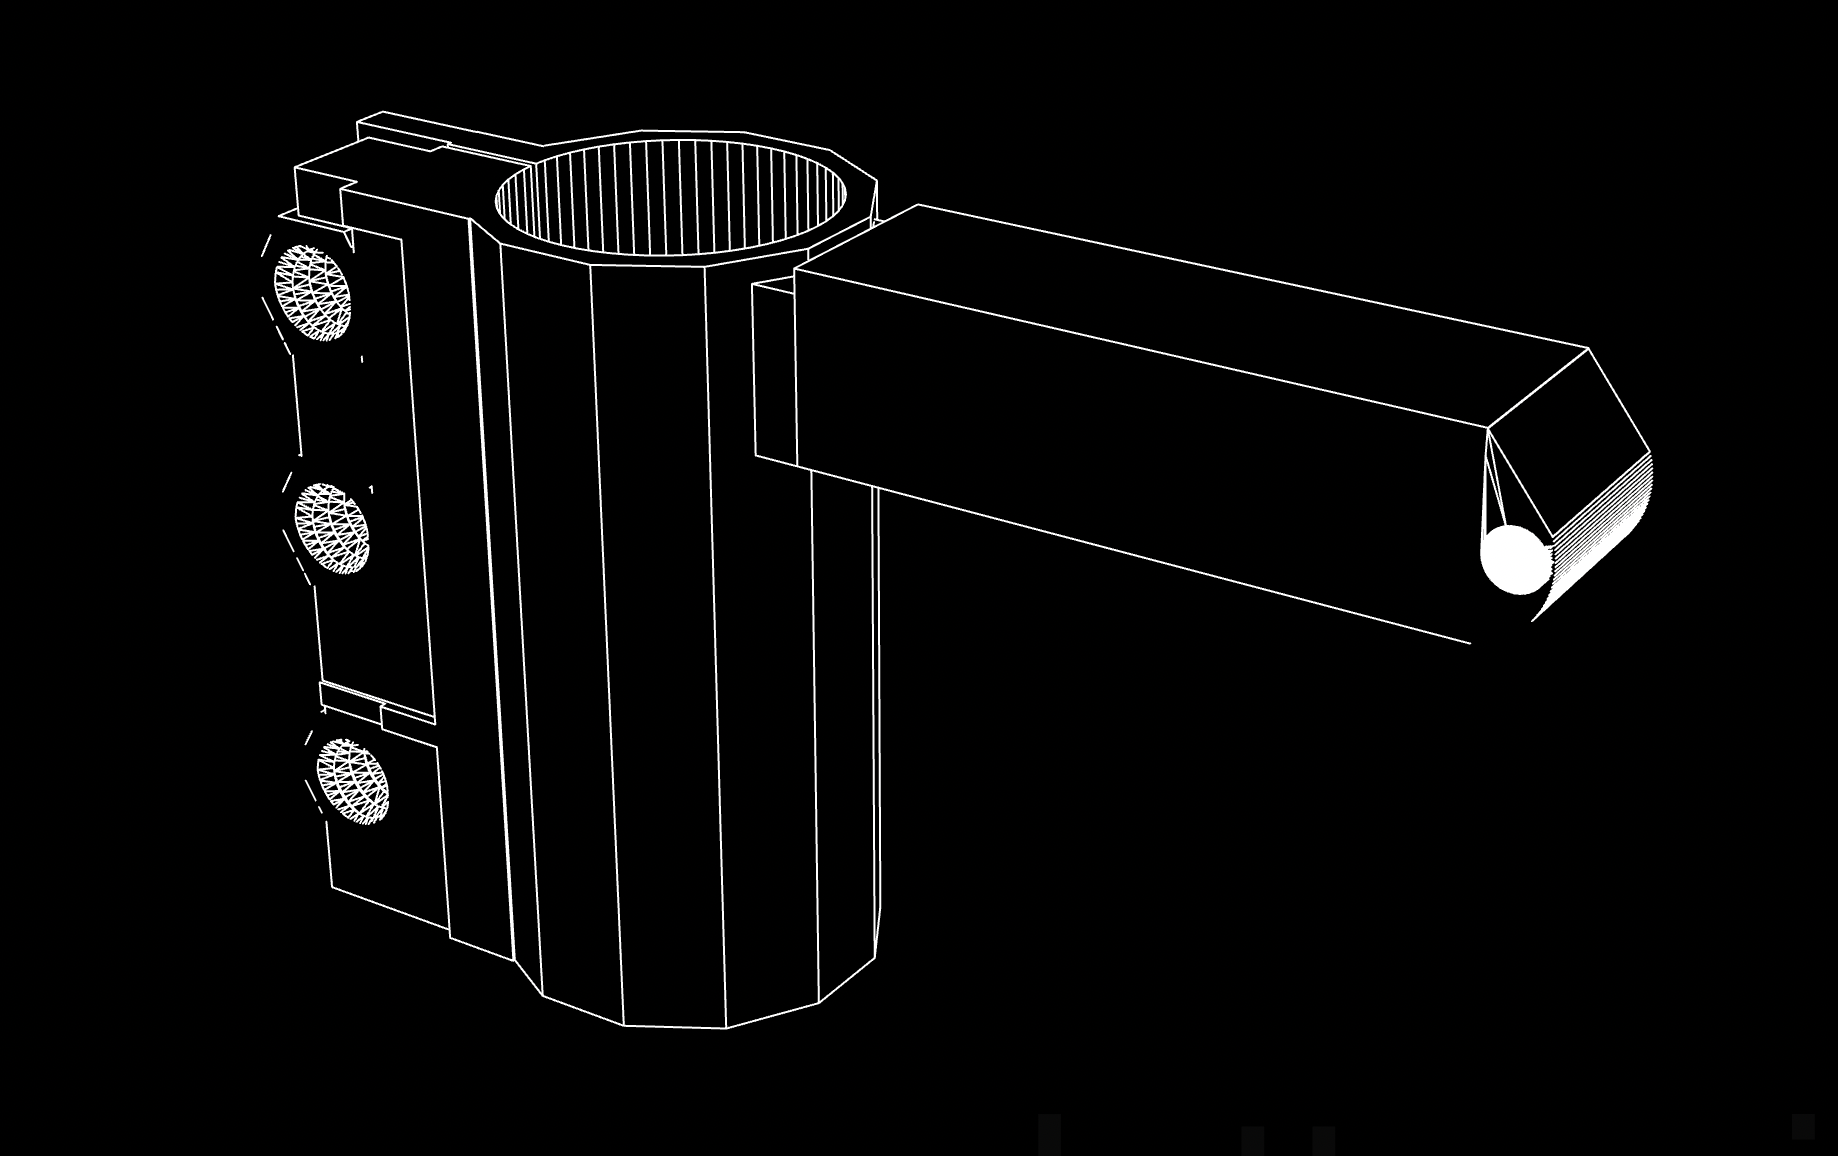
only modification to part 0.4 was adding a long stem that attaches to the main sheath. With a horizontal slot at the end where a 5mm bolt slides through and then is held in place with a nut on the opposing side. the same 5mm bolt and nut size, is used to connect the body of the bike to the two areas at the bottom of the rack.
AI Website Maker